|
The Brits call pop-overs "Yorkshire Pudding," which I think is a bit odd, since it doesn't look/taste anything like pudding... So I'm going to go with calling these pop-overs. They're my favorite "bread" side dish at meals and totally up your game so guests will think you're fancy. They'd never guess how easy they are to make! INGREDIENTS
DIRECTIONS:
2 Comments
I make a big batch of marinara sauce and can use it in 1-3 recipes that week (lasagna, spaghetti, pizza, etc).
INGREDIENTS
DIRECTIONS:
This is a family-favorite dish that the kids love to help with the making of. I usually buy pizza dough from trader joe's and make this an easy dinner night.
INGREDIENTS
DIRECTIONS
My husband isn't a big fan of horseradish, so I leave it out of his half of this dish. I on the other hand adore it and this is my favorite sauce to pair with any red meat dish. It's incredibly simple -- enjoy!!
INGREDIENTS
RECIPE
INGREDIENTS
INSTRUCTIONS
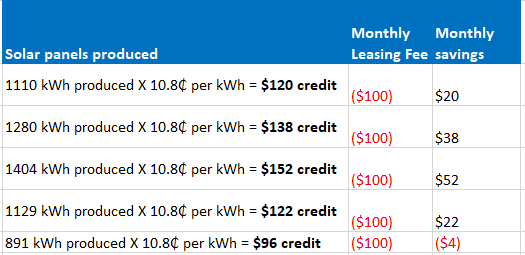
We leased our solar panels through solar city (now owned by Tesla). They guaranteed that the panels would generate a minimum of 10,901 kWh per year. If it does not produce that amount, Tesla refunded the difference. Our system saved us an average of $25 a month and we received a reimbursement check of $75 at the end of the year. Here's a snapshot of our panel's performance the last 5 months we were in the house (we recently sold the house and moved). So- the savings didn't turn out to be the 30-40% that the salesperson promised, it was more like 6%. So make the decision to lease your solar panels knowing that your money savings aren't going to be huge. Obviously, your savings could be higher or lower, depending on the number of panels, your usage, or the direction of the panels relative to the sun, etc.
We were a bit disappointed in the low cost savings of course, but our primary motivation was to lower our carbon footprint by replacing utility power with clean electricity from solar panels! Now, there's one more "CON" to leasing solar panels that we didn't take seriously enough when signing the contract. It was a 20 year contract at a variable kWh rate. It made selling our home much trickier. Tesla doesn't service solar builds in our new city, so we couldn't take the panels with us. To get out of the contract, whoever bought our house had to assume the remaining 17 years on our solar panel lease:
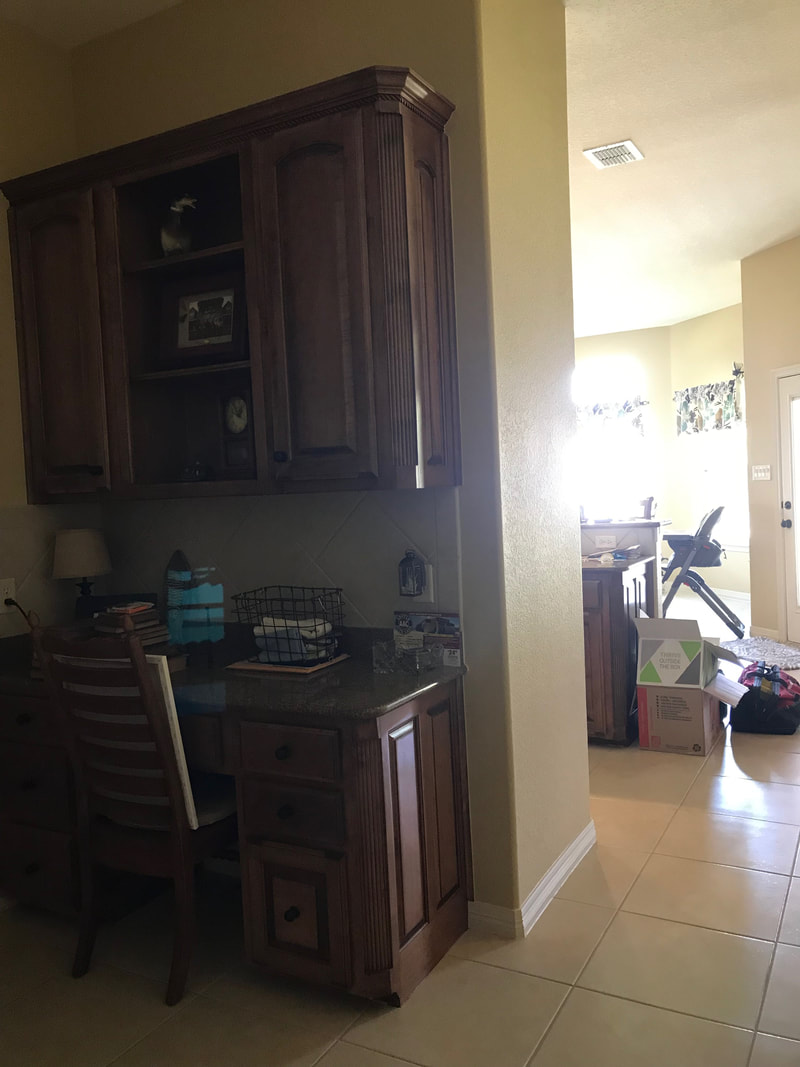
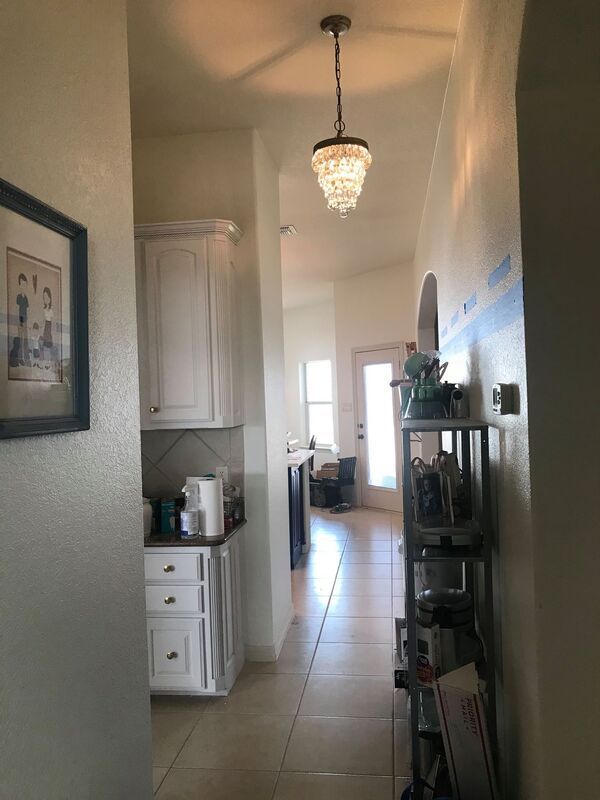
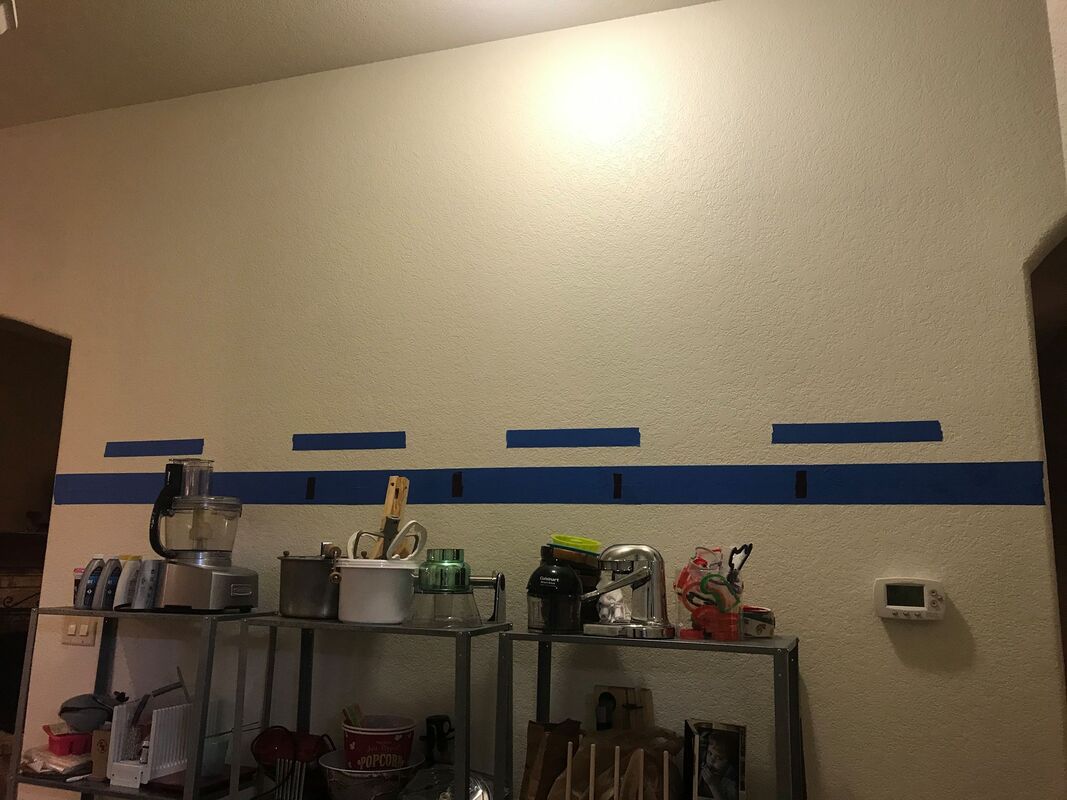
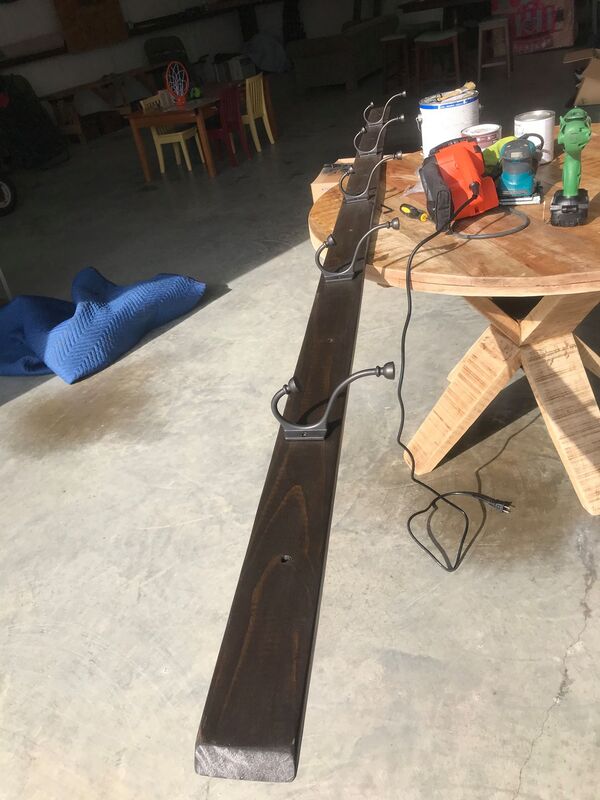
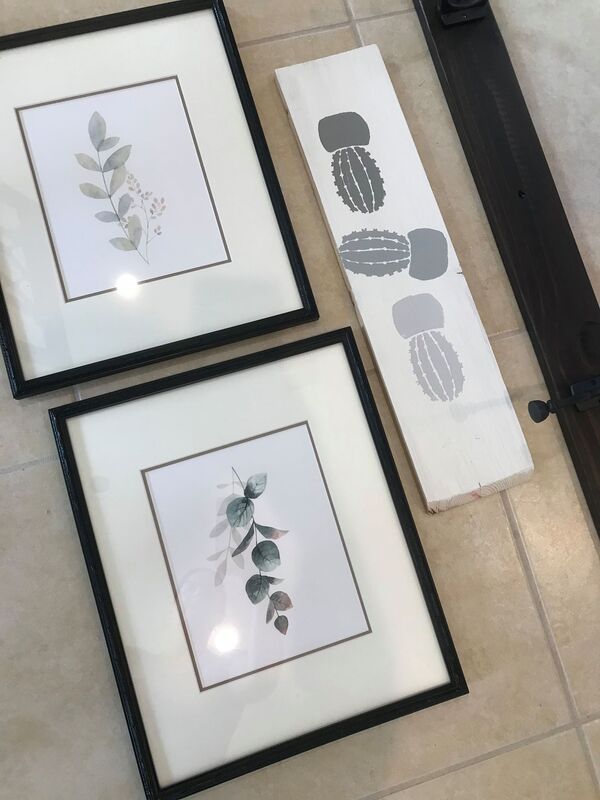
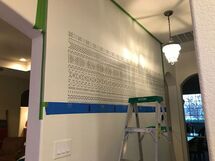
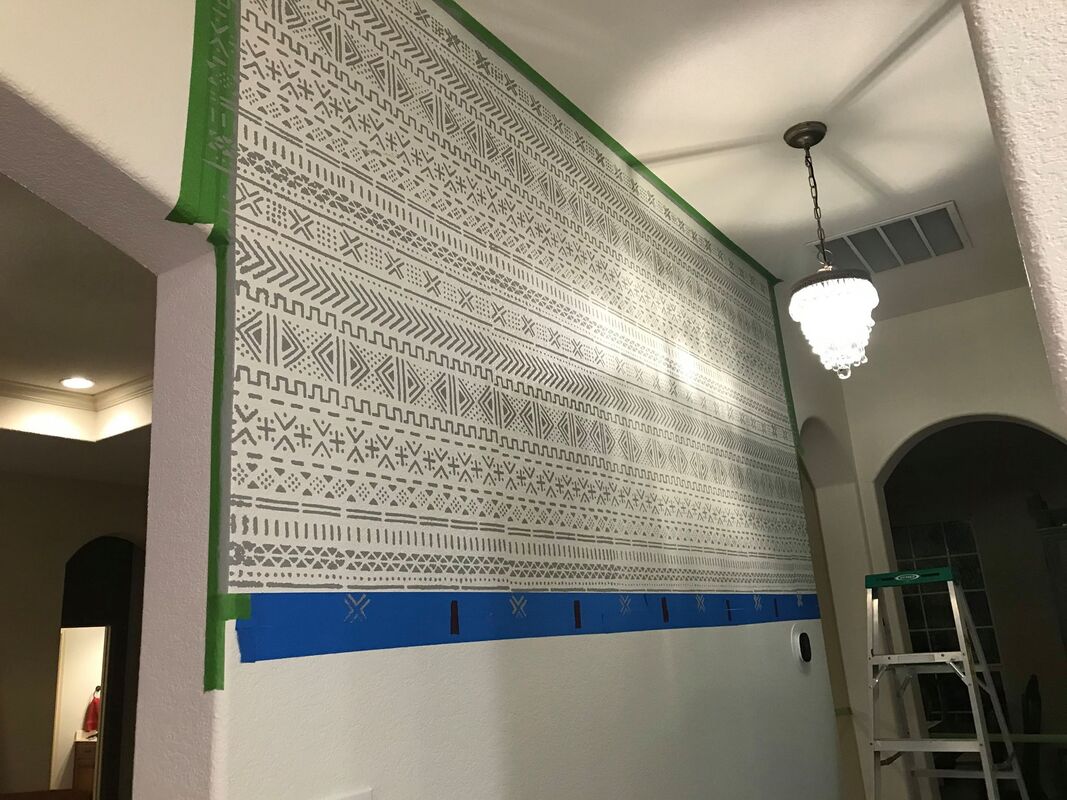
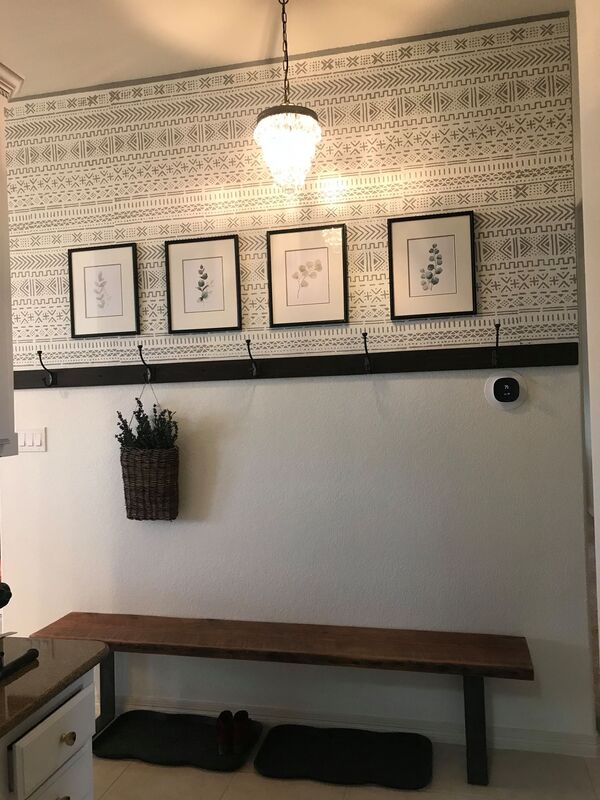
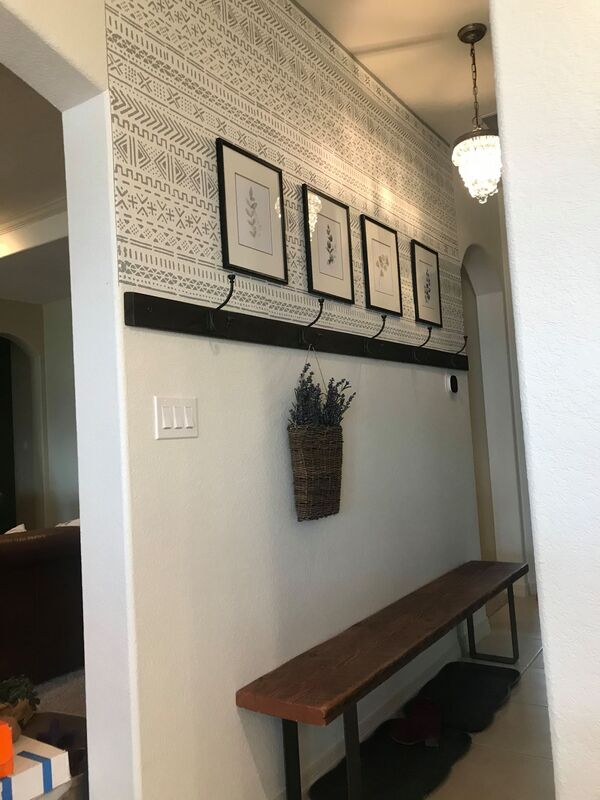
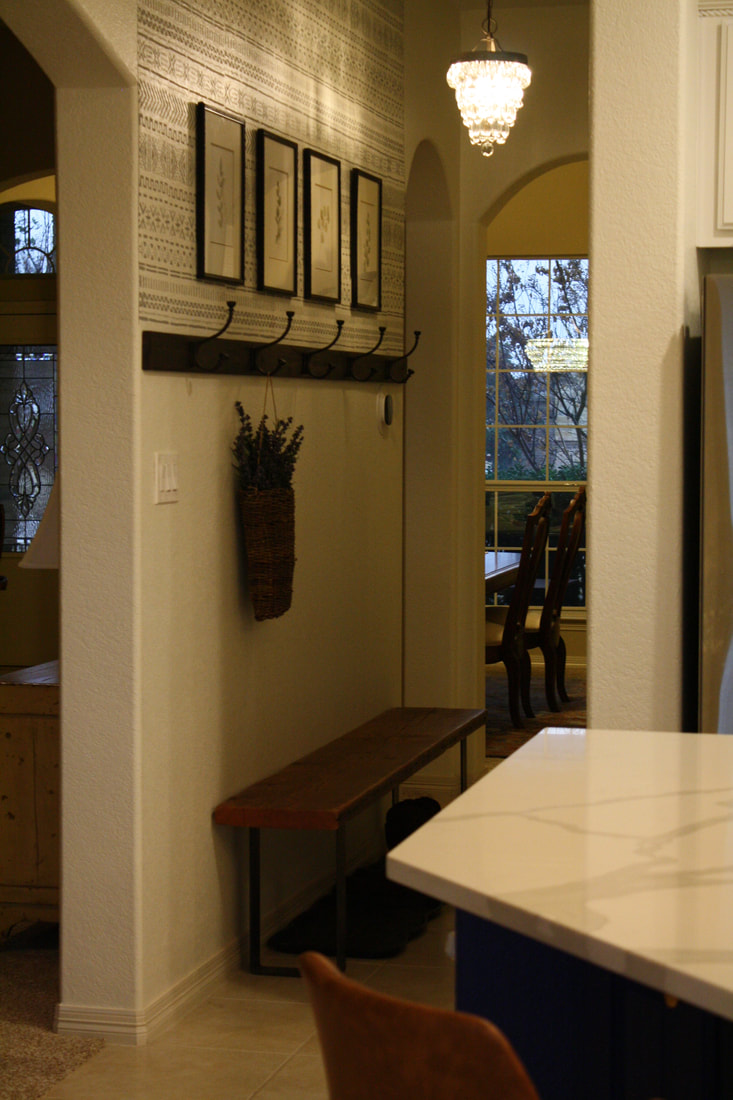
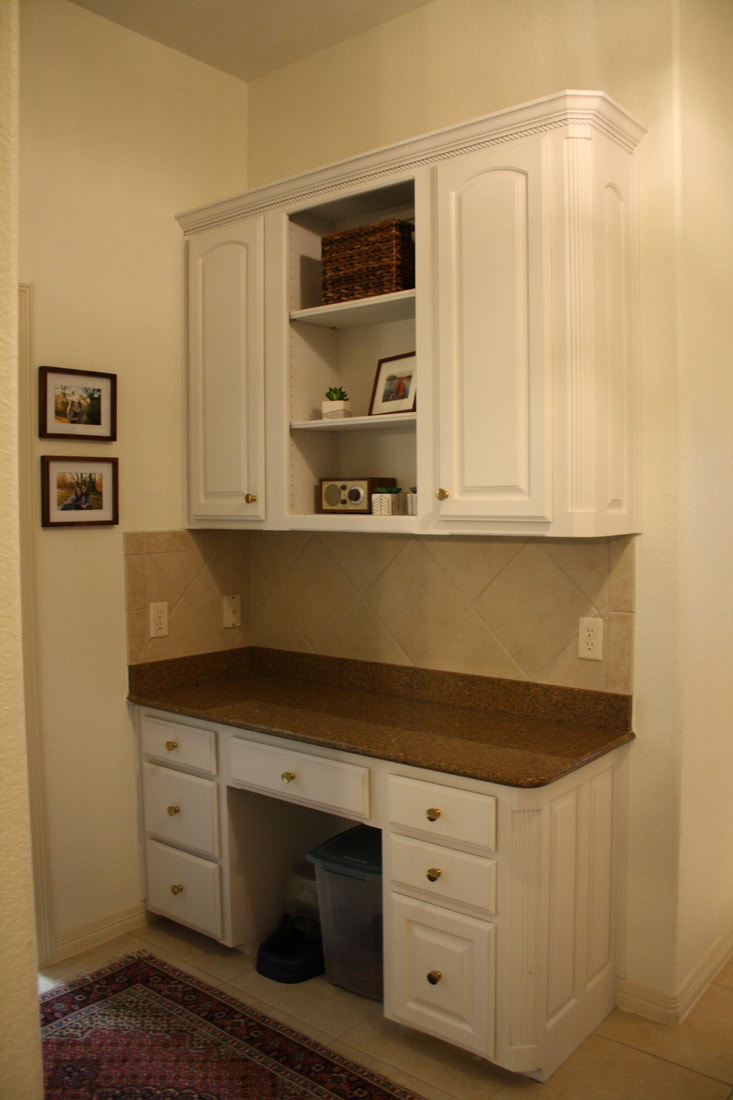
In summary, buying your solar panels is the only way I'd go solar again. You get to pocket all the savings from the kWh your panels generate and you can take them down/bring them with you wherever you go, or if you leave them behind- they're an asset and viewed as a bonus to potential buyers. When you enter our new house from the garage, you're faced the laundry room to your left, cabinets and countertop in front, and to your right a large white blank wall. It was very utilitarian and uninspiring. I'm right-brained and my visual surroundings tend to have a strong influence on my mood/emotions- so this really bothered me and just wasn't going to work. First, as part of the kitchen renovation, I had the contractors paint these cabinets in Benjamin Moore Chantilly Lace OC-65, the same white as the kitchen cabinets. I like to keep the shades of colors in my house to only a few. I also changed out the light with a Pottery Barn Clarissa chandelier in small (to match the same, but larger chandeliers in the kitchen). I took several steps to update this big blank wall. I laid out where I'd like to put some artwork and a coat hook board that runs the length of the wall. I bought a large length of 2x4" and Restoration hardware Duluth hooks to match the hardware in the Kitchen, but in oil rubbed bronze. Then I took four picture frames that we already had, but they were white. So spray painted them, bought new mattes from Hobby Lobby and some botanical prints from Amazon. Then I picked out a stencil that I wanted to put on the top half of the wall. I chose an African Mudcloth wall stencil from CuttingEdge Stencil--the same place I bought the stencil pattern for my fireplace & patio floor tile stencil project and also for my laundry room accent wall project (in my last house). I bought a gray paint to match the gray in the kitchen counters to coordinate the spaces and got to work stenciling! Then I screwed the wood coat rack to the wall (using a stud locator, be sure to drill into studs) and hung the pictures. Then I styled it by adding a cute hanging basket of faux lavender, a Persian rug that I've had forever (I bought it in Bahrain when I was in the Navy), hung some family pictures, and added a bench that I had laying around. It used to be at our kitchen table for years until we switched it out for new chairs (see the reupholster blog about those HERE). And voila- my one-day project was completed and my entryway looks a million times better!
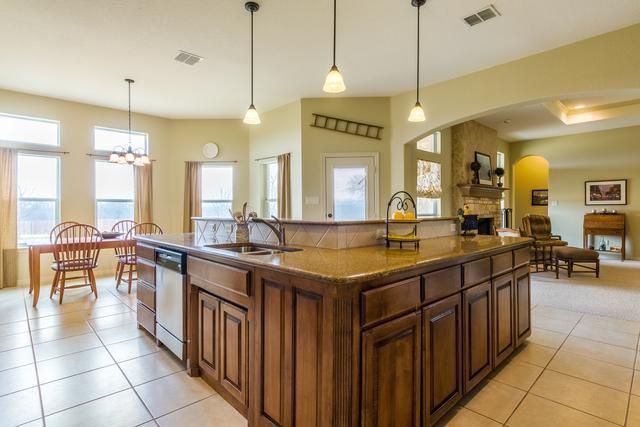
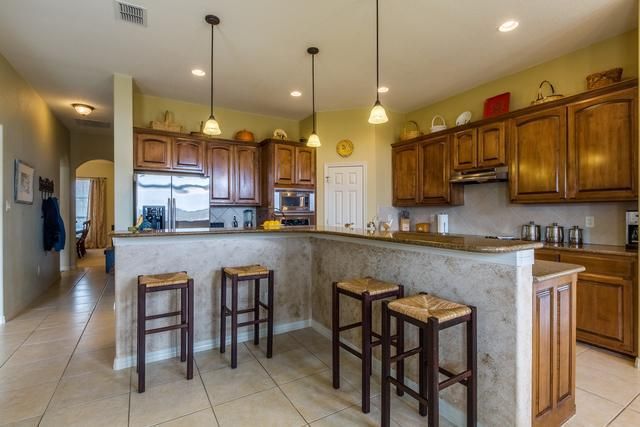
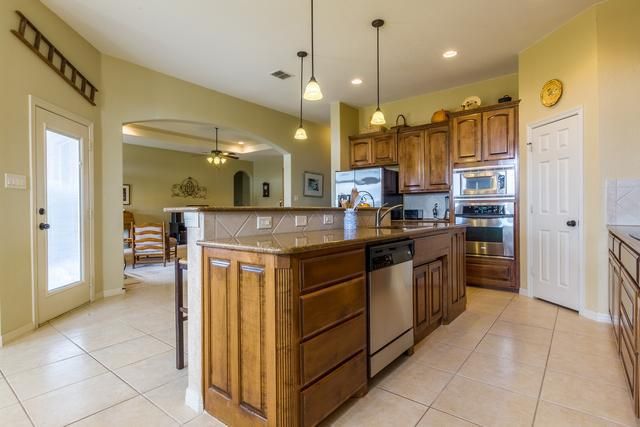
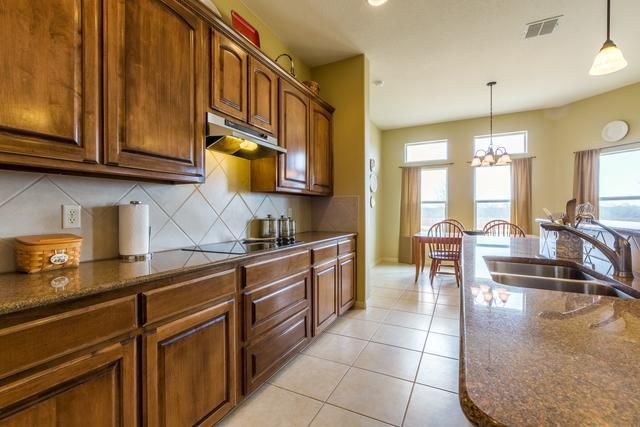
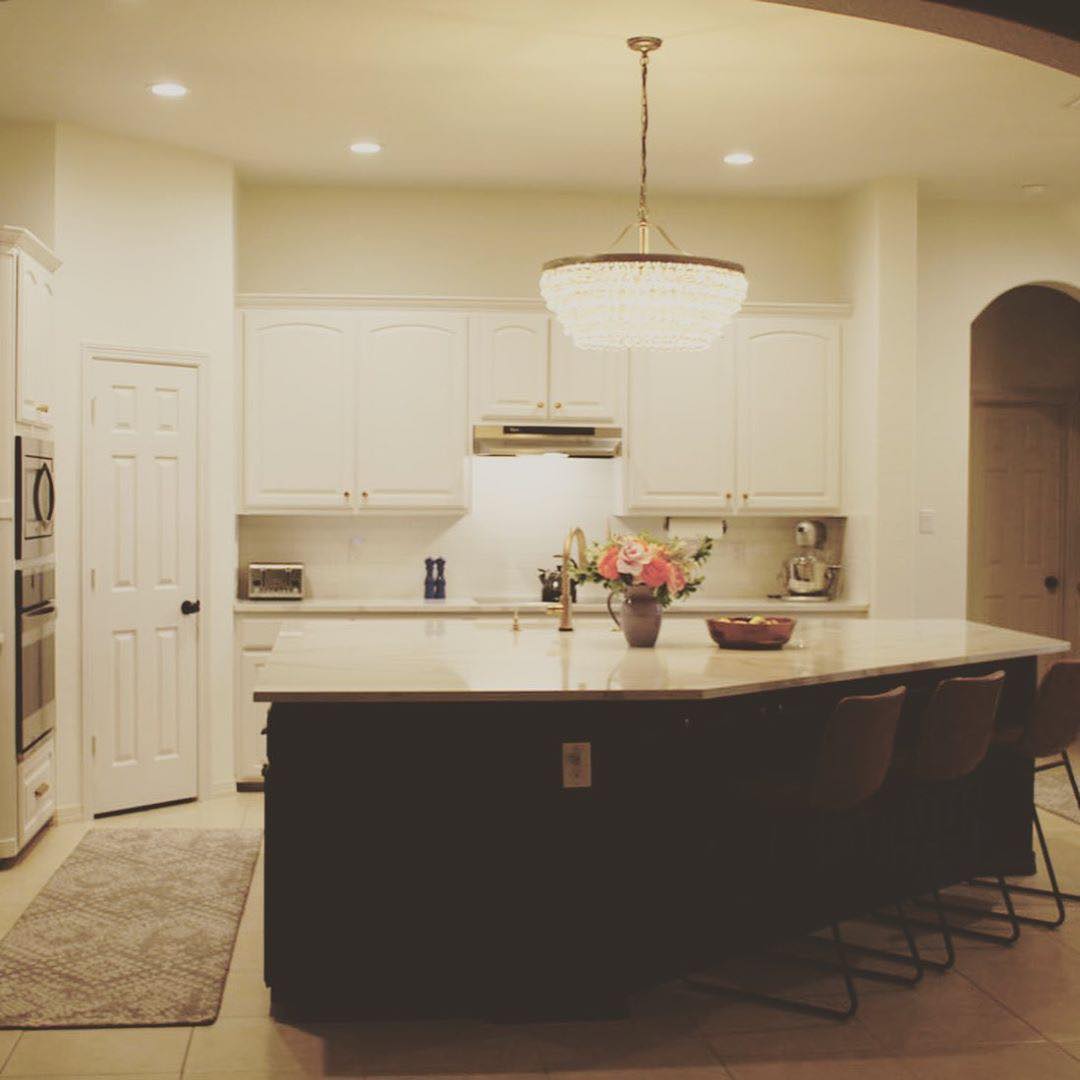
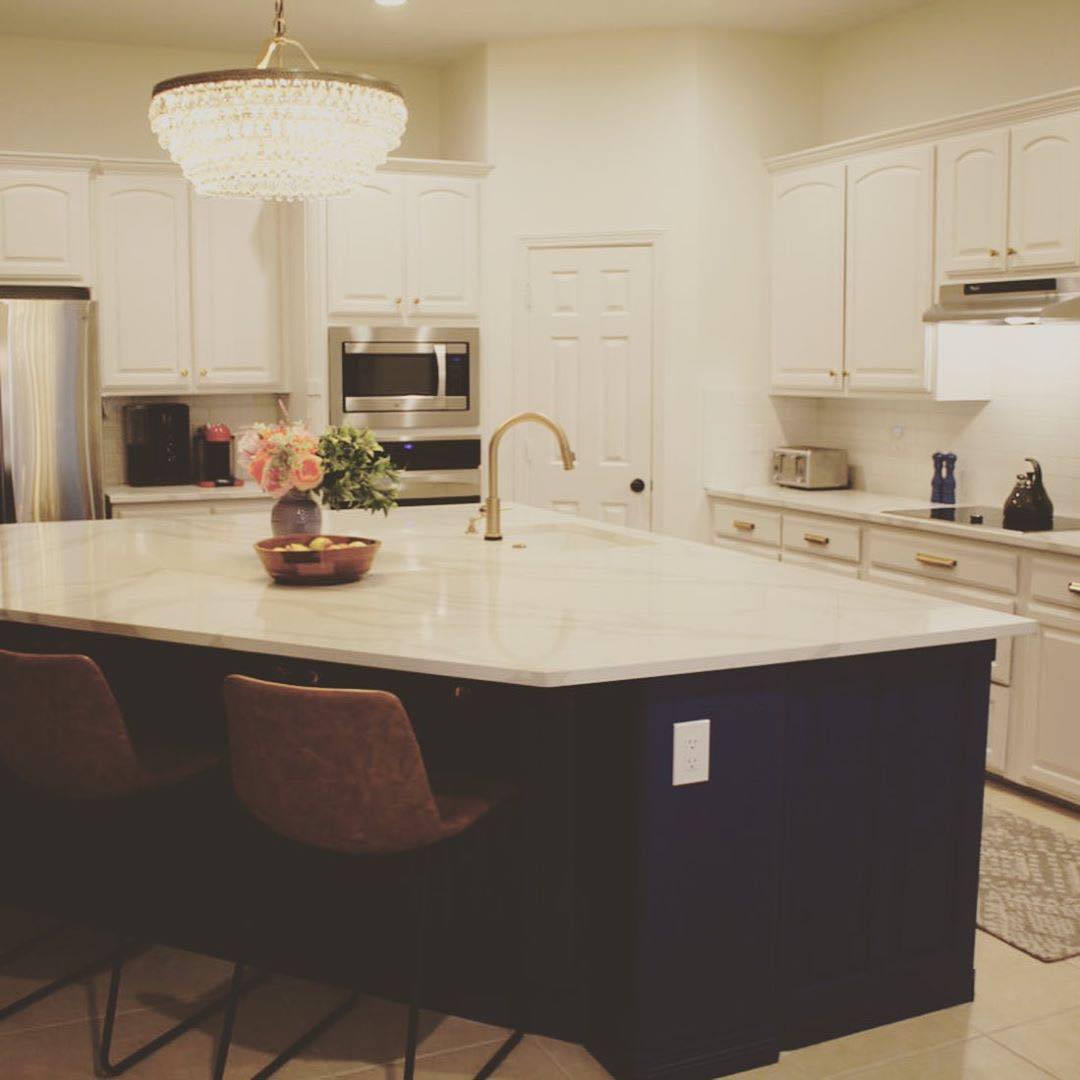
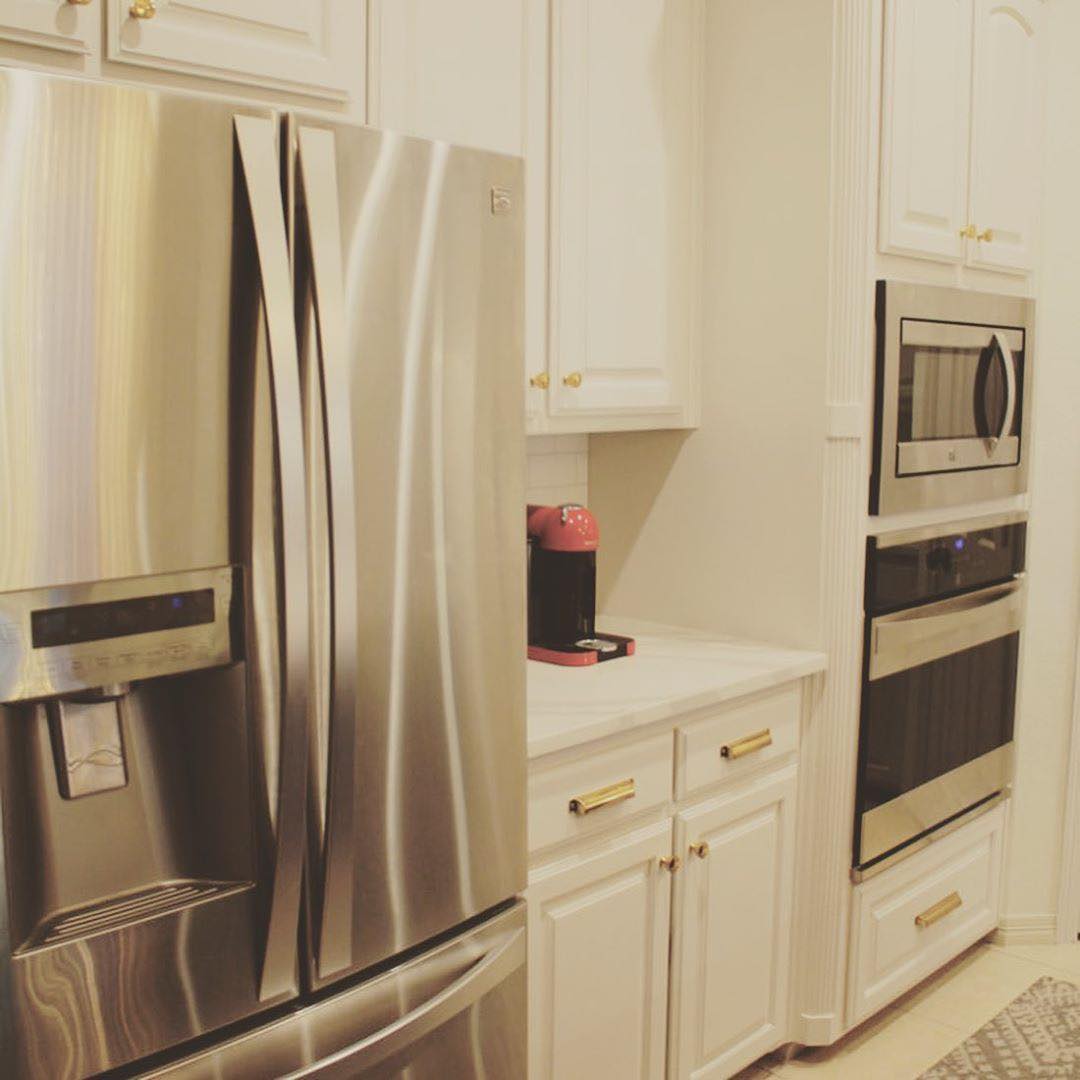
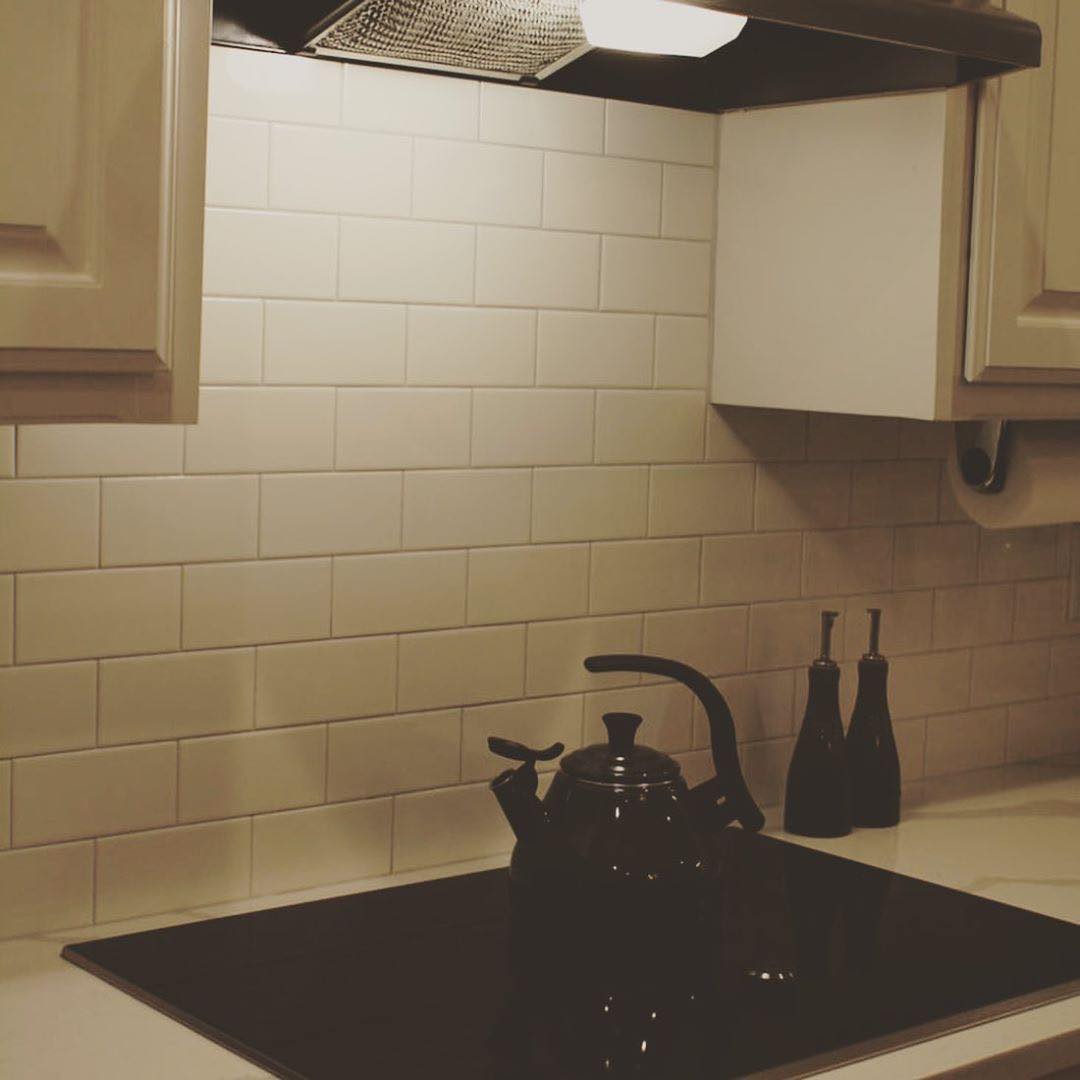
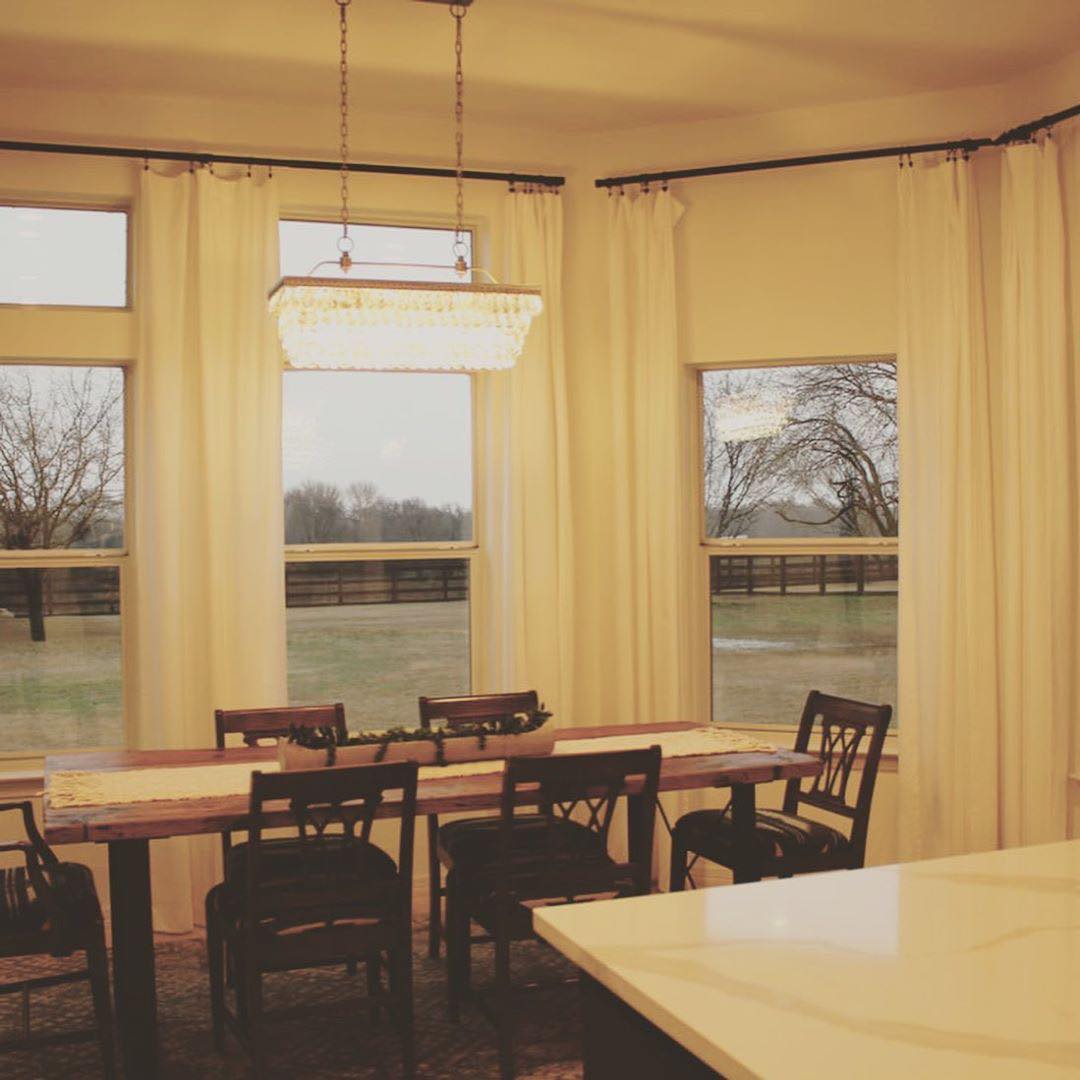
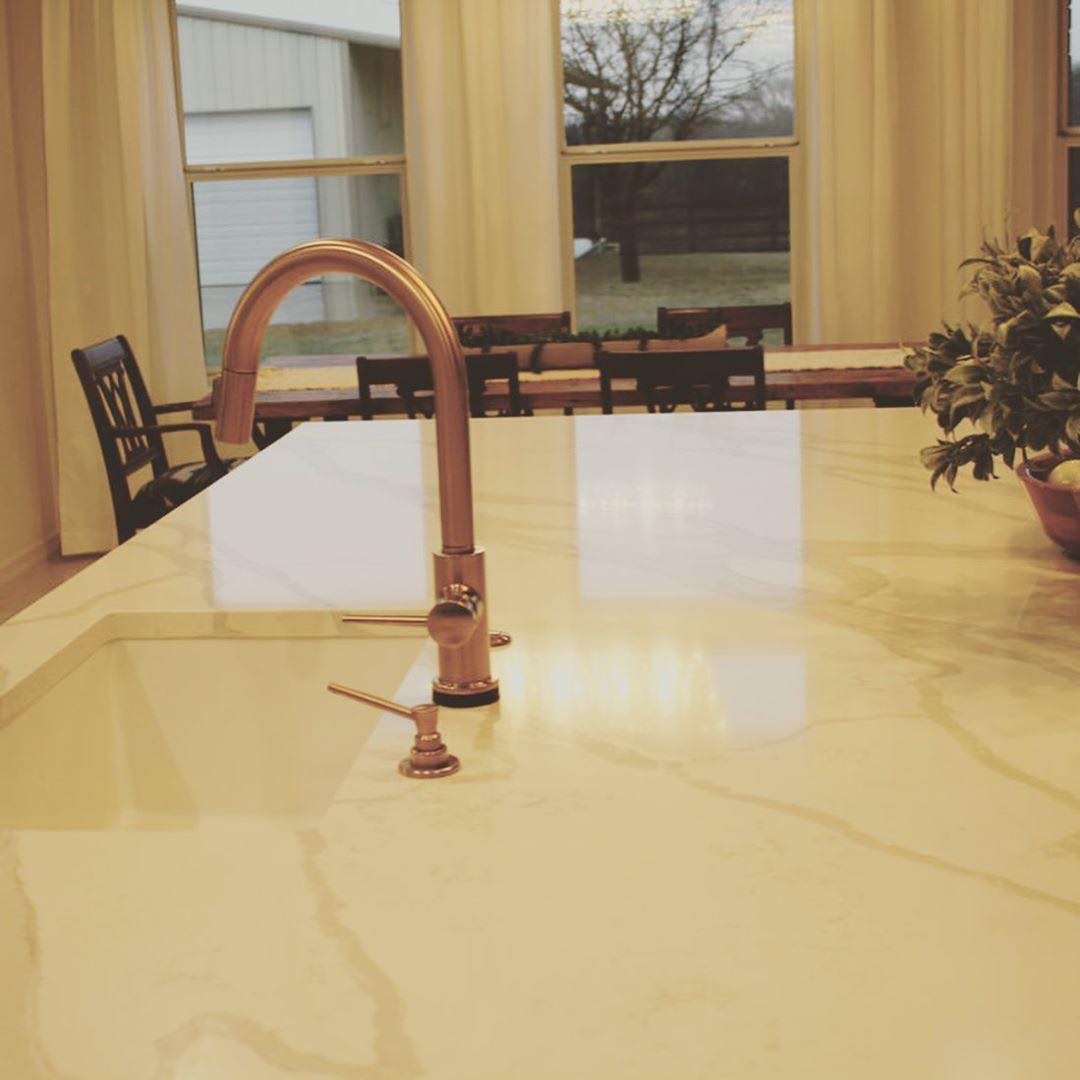
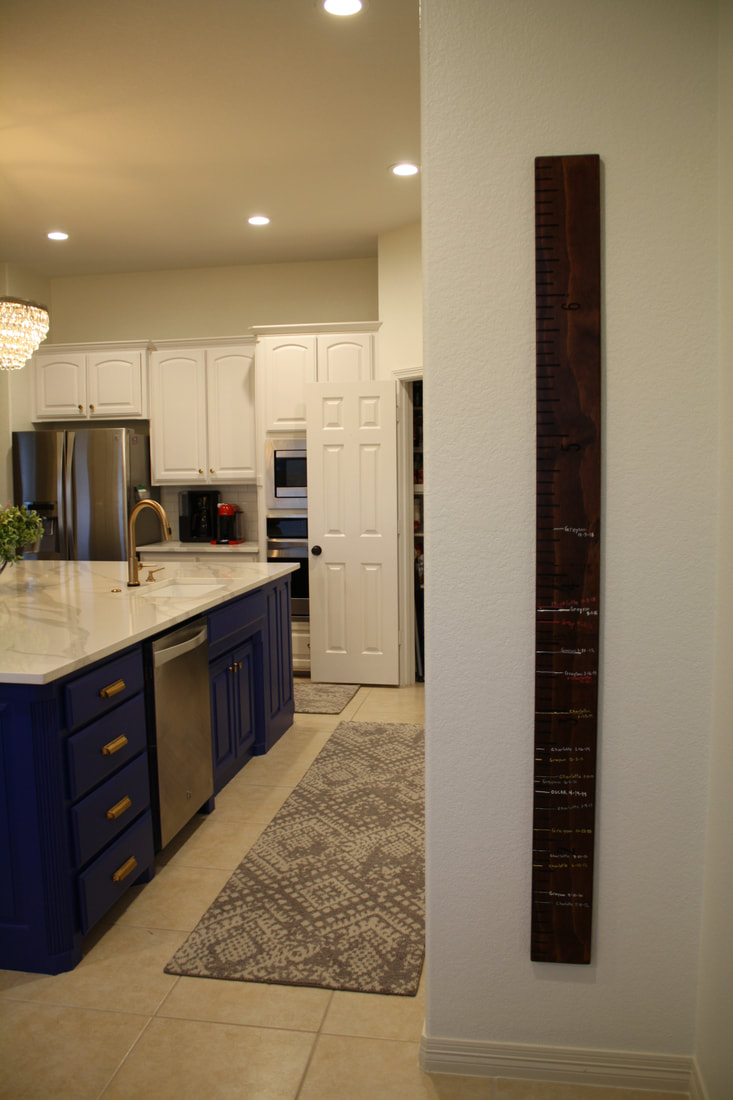
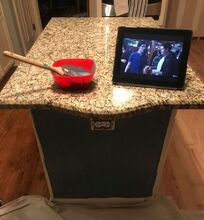
Not a year after renovating our kitchen in the suburbs of Allen, Texas, we found a new house on an acre out in the country (and closer to the husband's work). The house has great bones, but the kitchen was pretty dated. Check it out: It had the two-level island that so many kitchens came with in the 90's-00's. I sent the below picture to the contractors that did our bathroom renovation at the Allen house, Priess Remodeling, to show them what I wanted to do. They said that it'd be no problem! We made the following renovations:
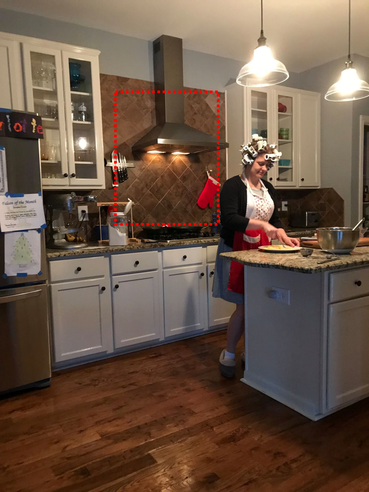
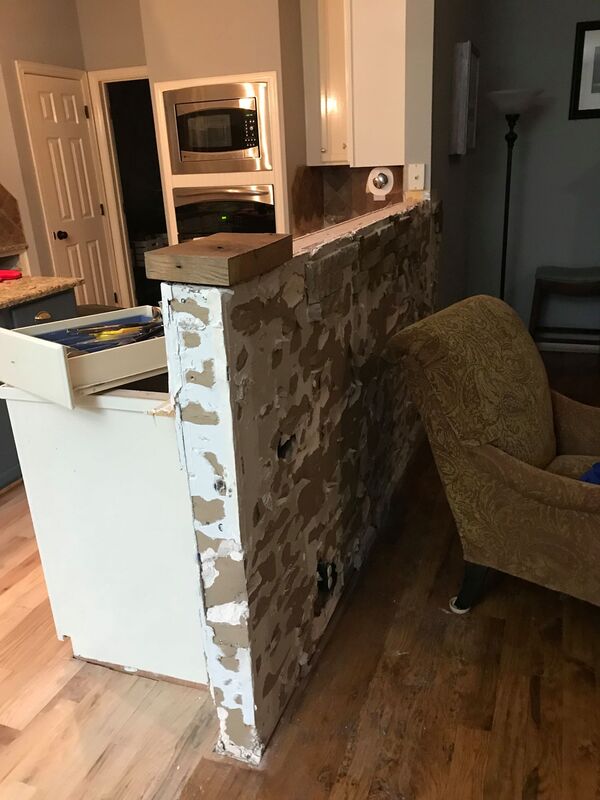
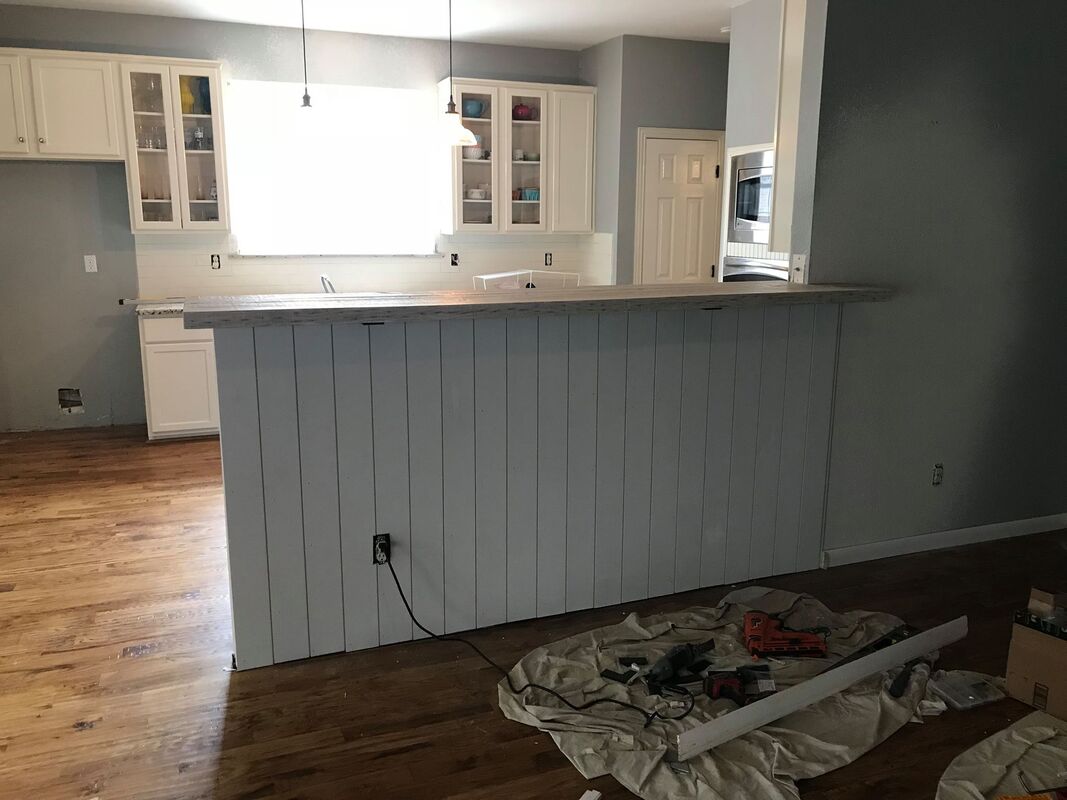
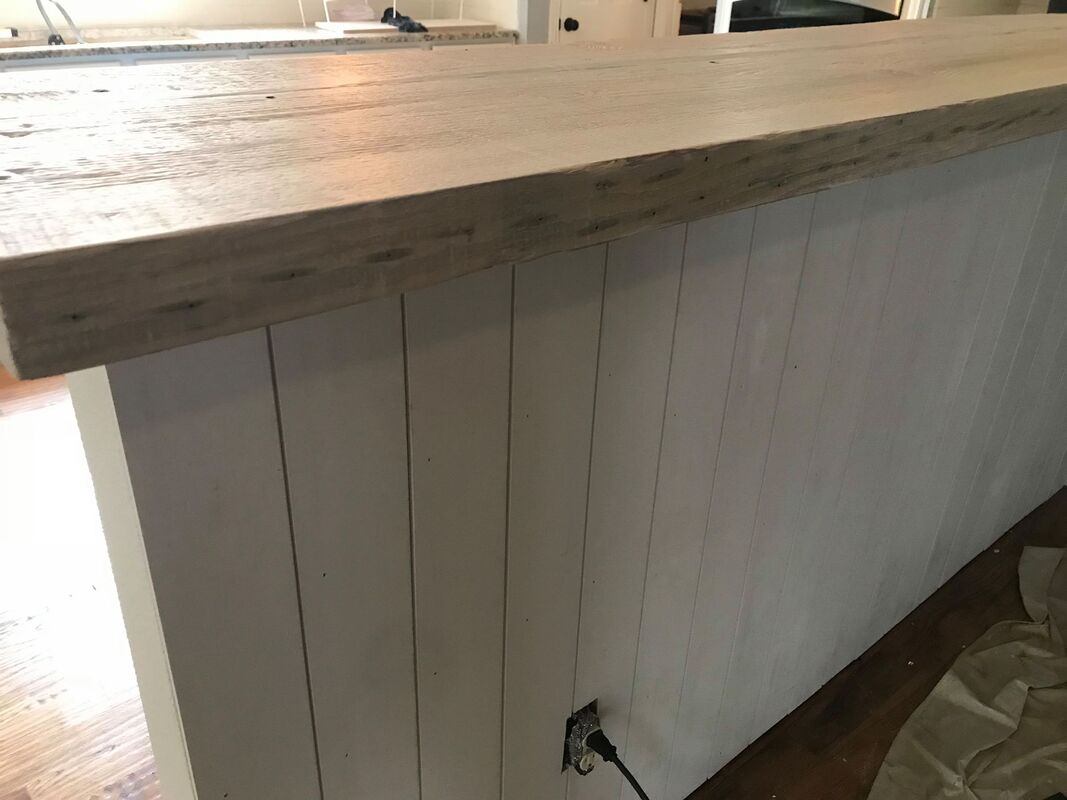
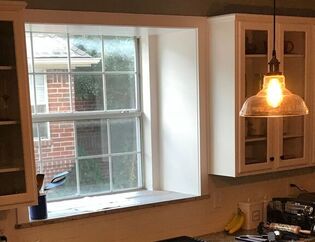
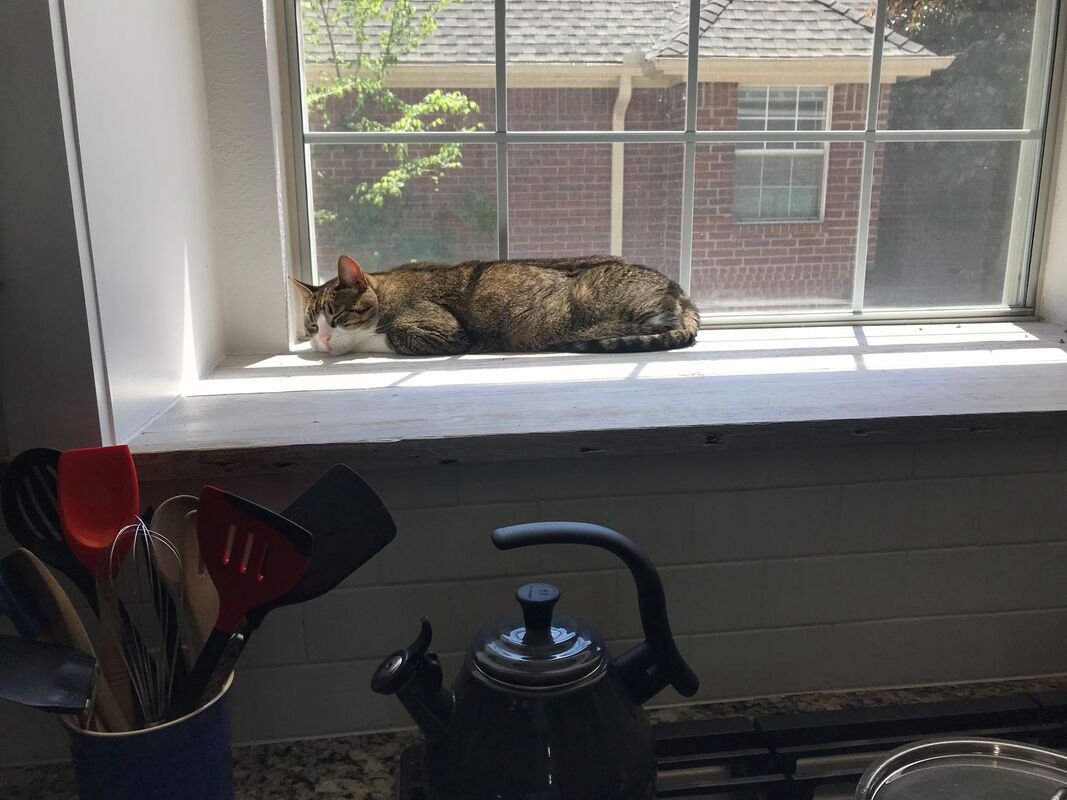
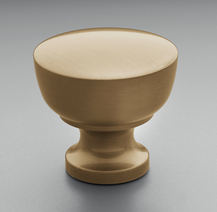
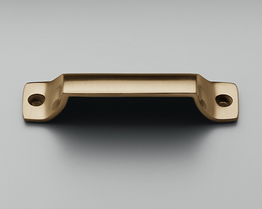
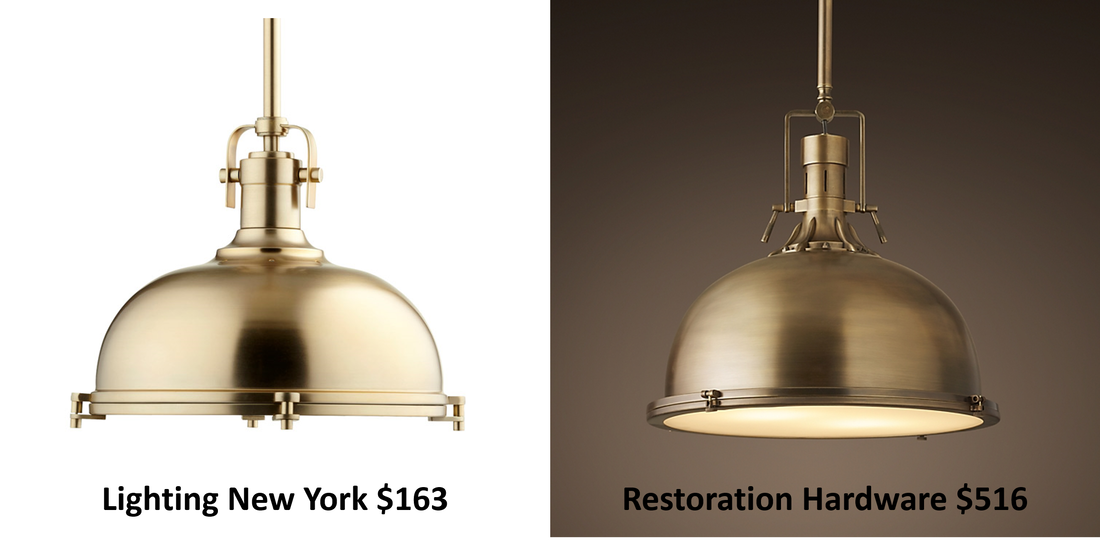
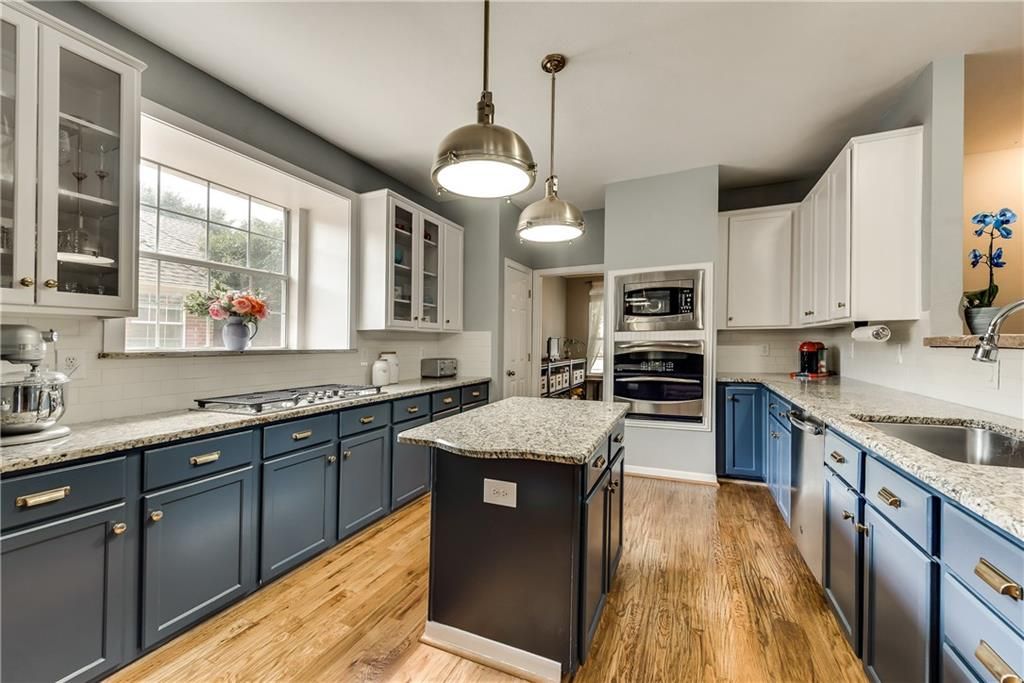
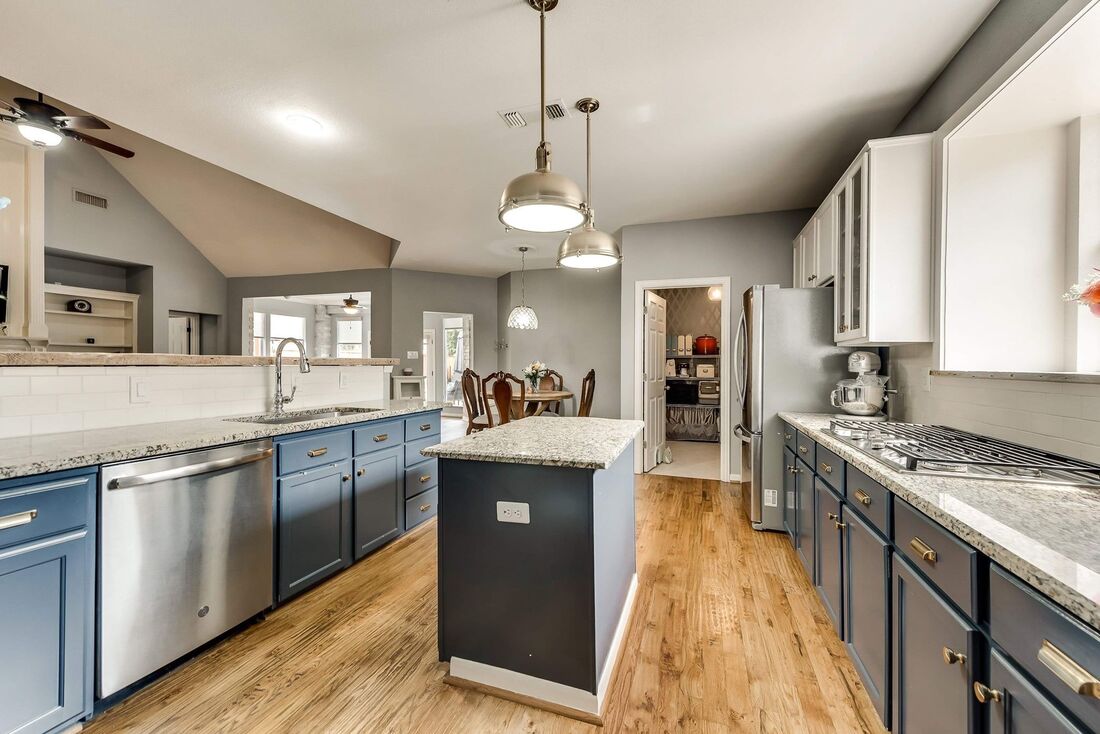
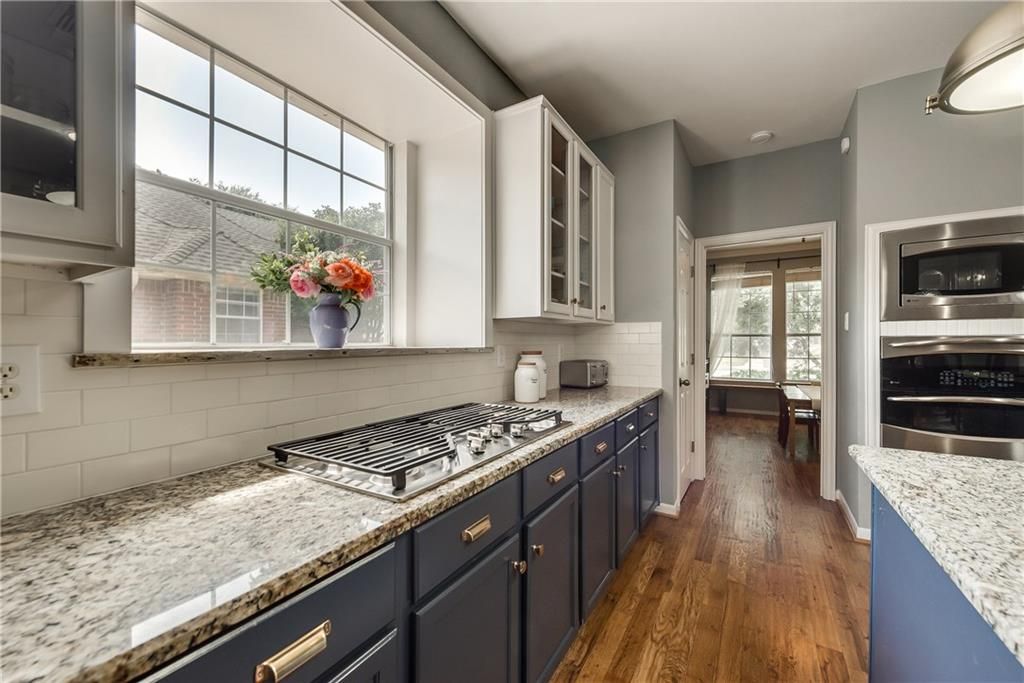
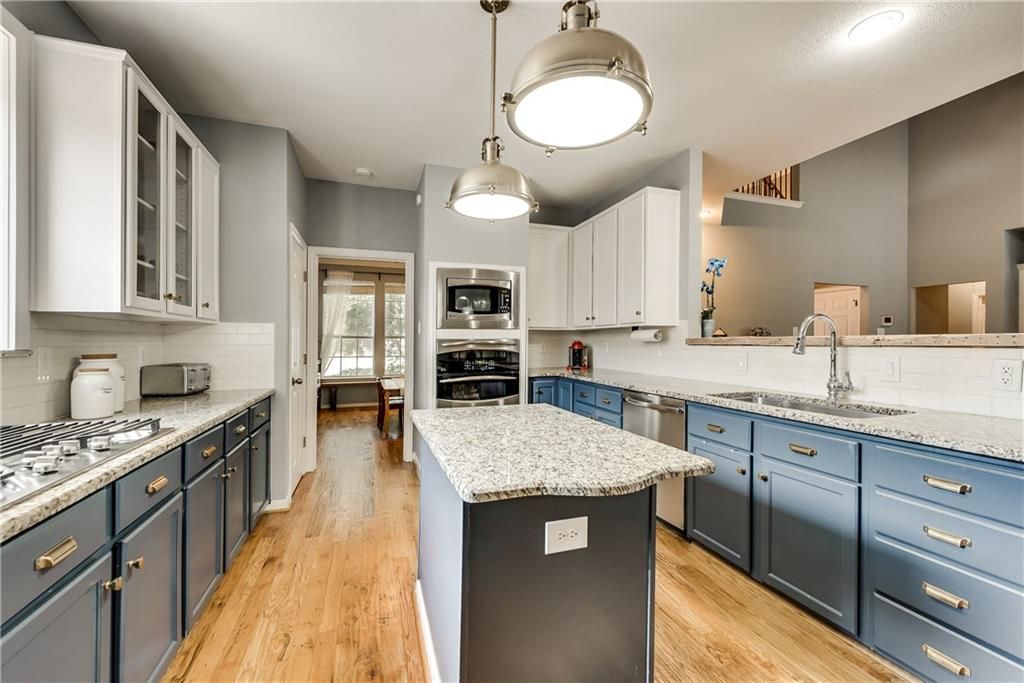
Making lemonade from lemons We didn't find out that our dishwasher was leaking until I started pulling the ugly faux-brick off the kitchen bar and noticed that the bottom of the bar and the wood floors were soaked with water and starting to warp. A phone call to insurance and their assigned contractor later and a kitchen renovation was underway! Obviously they didn't pay for all of it, but they paid for a decent portion which helped us justify making a few extra updates on our own dime. Our ho-hum kitchen had bored me for years. We found out a few months after moving into our home that there was a kitchen window that had been tiled over--inexplicably. I can't even imagine why. It reduced the natural light so much it made the whole house seriously dark. (enjoy me in hair curlers and an apron- it's the only "before" picture I could find hahaha) We started by demo'ing the dark & dated backsplash and opening the window up and adding shiplap to the bar. I drove down to Reclaimed Designworks in Dallas and found some yellow oak salvaged from a Southern cotton mill circa the 1860's. We lightly sanded (so as not to lose too much of the character), lightly white washed, and sealed with Modern Masters Exterior Dead Flat Varnish. We chose a bone white subway tile for a sophisticated and clean backsplash look. We hit a few hitches with opening up the window that we weren't totally expecting. First, the window was like something from Dr. Seuss all slanted and off-kilter. The contractor built a nice new box frame for it to straighten it out. Then we had to find a new material for the window ledge. We went with a matching salvaged wood to the bar. It was a big hit with our cat Handsome Rob. I ordered 4 different sets of hardware before landing on Restoration Hardware's Duluth collection in brass. I highly recommend-it was totally worth the price (and you get a good discount when you sign up for their membership). I also ordered Restoration-Hardware look-alike pendant lights from Lighting New York; the Quorum 804-17-80 Signature 1 light, 17" aged brass pendant. With a coupon it was $163 compared to Restoration Hardware's $516 price tag.
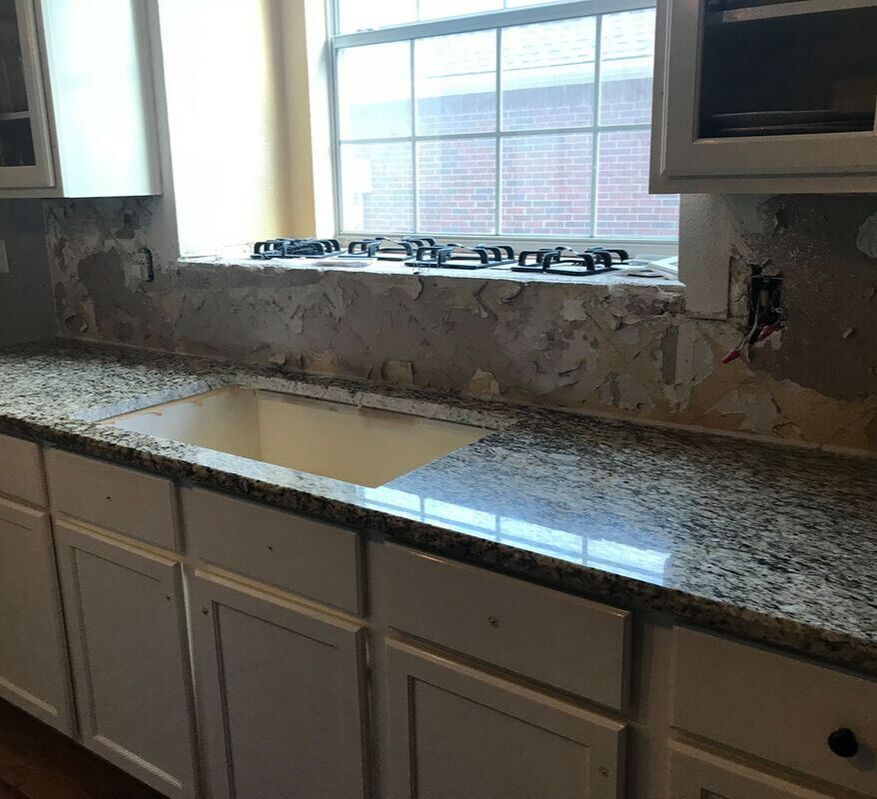
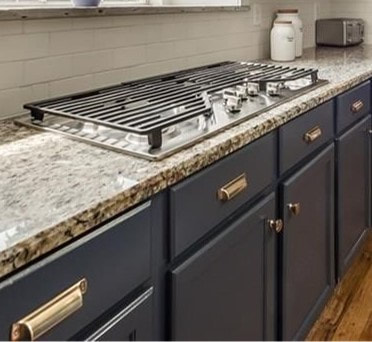
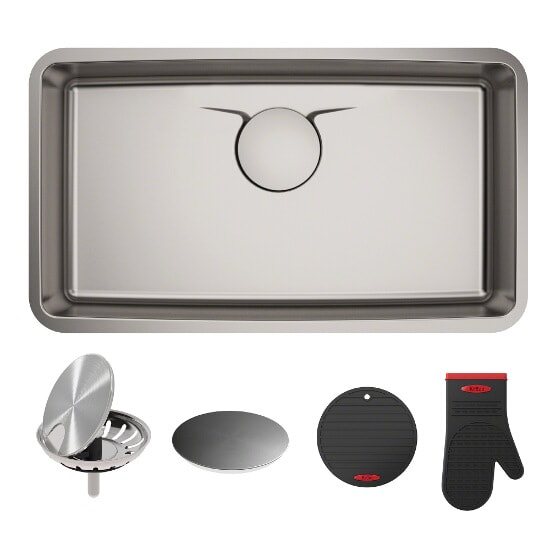
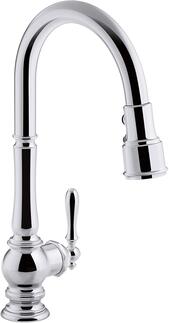
Other upgrades to the kitchen included cutting into the existing granite counter tops to widen the cooktop space and add a new GE Profile Series 36" Gas Cooktop. Let me tell you... as an avid home chef - this upgrade was worth every penny and made me happy every single day! The last upgrade was maybe tied for first favorite with the cooktop... the 33" single basin sink by Krauss in stainless steel and Kohler's polished chrome artifacts kitchen sink faucet (K-99259-CP). Without further ado... here's the full reveal! Products used in this project:
*Disclosure: This post contains affiliate links, meaning that I get a commission if you decide to make a purchase through my links, at no cost to you. Run to your nearest apple orchard (or grocery store I guess) and stock up- once you make these muffins you'll never make another recipe again. Don't skip the glaze, it's what make these extra.
INGREDIENTS
INSTRUCTIONS
|
HomesteadersCooking & home projects galore! My secret inner-designer revealed. Categories
All
Archives
August 2020
|
