|
This was the first brussels sprouts recipe that I ever made and it was such a hit that I've kept it in my recipe box for years. It's a sure crowd please and compliments any holiday table or dinner anytime really:
INGREDIENTS
INSTRUCTIONS
0 Comments
I used to love wrapping presents. I worked at Restoration Hardware during college (terrible idea btw - I shopped more than I worked and ended each shift in the negative $$). I learned the fancy retail way of gift wrapping using sharp edges, double sided tape, and folds along the edges. I spent hours wrapping a handful of beautiful gifts for my boyfriend/fiance/husband back in my roaring 20's. Now we've got two kids and what seems like thousands of thousands of gifts to wrap each Christmas. This situation led to me dreading Christmas gift wrapping time. I'd put it off, get all stressed about it, it was no good. I was so grateful when I got a few of the ugly blue Amazon cloth gift bags - I reused those over and over. It got me thinking. I could sew these bags in cute Christmas fabrics - spend 2-3 hours sewing them and then re-use them every year; saving myself hours of effort and stress every Christmas. I downloaded a Jo-Ann's Fabrics coupon and bought a yard of fabric in practically every Christmas fabric they had. It did take an initial investment of about $100 I think (but over the years I'll save $$ by hardly ever buying gift wrap again!). I did a mix of vintagey older looking fabrics and cartoon/disney fabrics for the kids. Look how great these came out! I adore the vintage old-timey look and feel of these under the tree. Let's not forget all the landfill fodder and poor sad trees that are wasted in every house as wrapping paper is ripped, wasted, and trashed every Christmas. Scroll below the pics for a link to the tutorial (it's so easy, it's basically sewing a pillow case with a ribbon added): 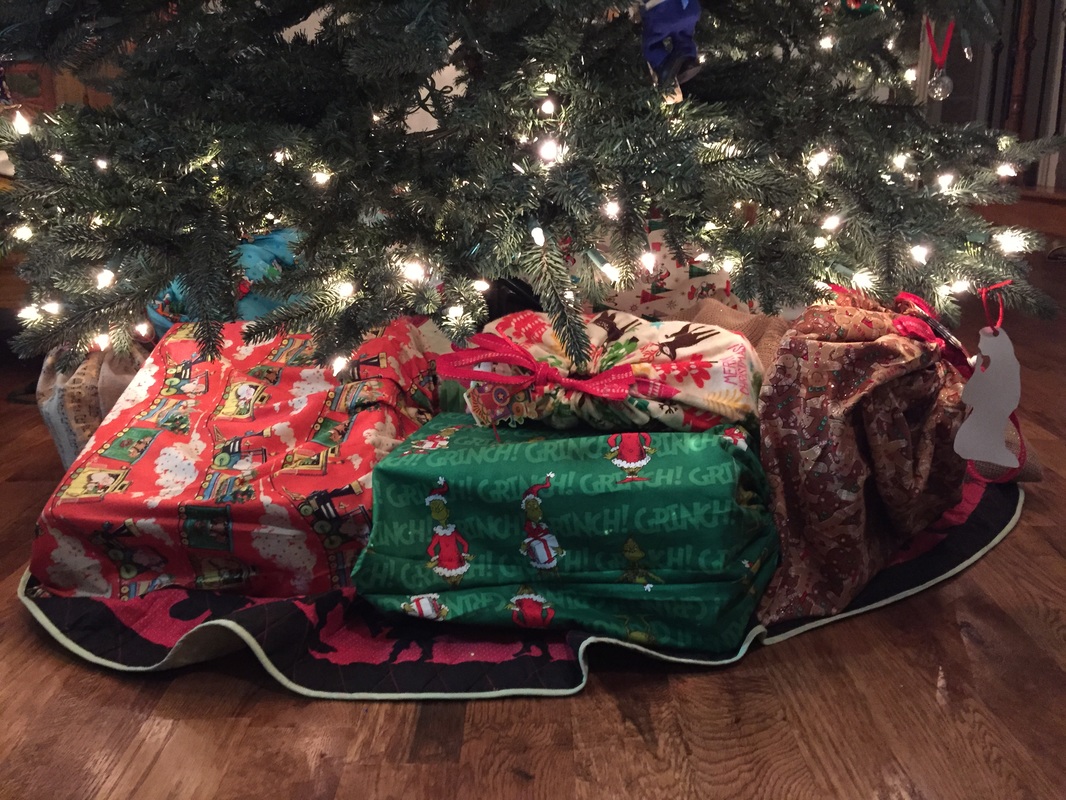 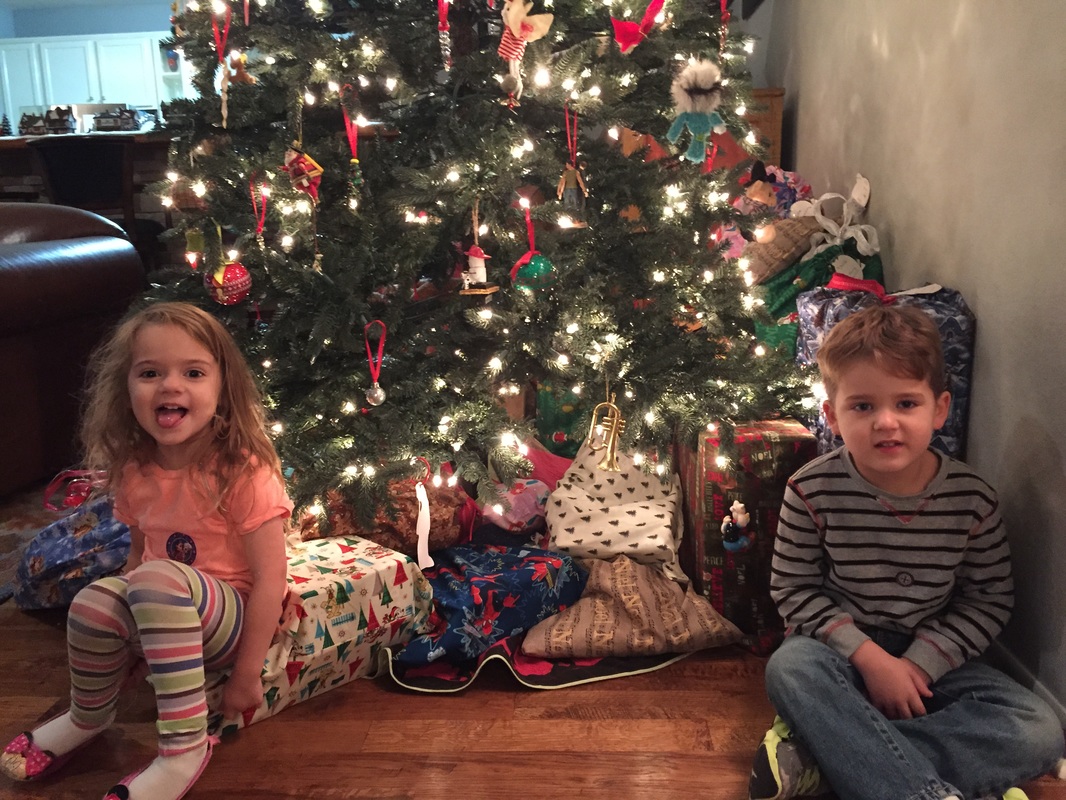 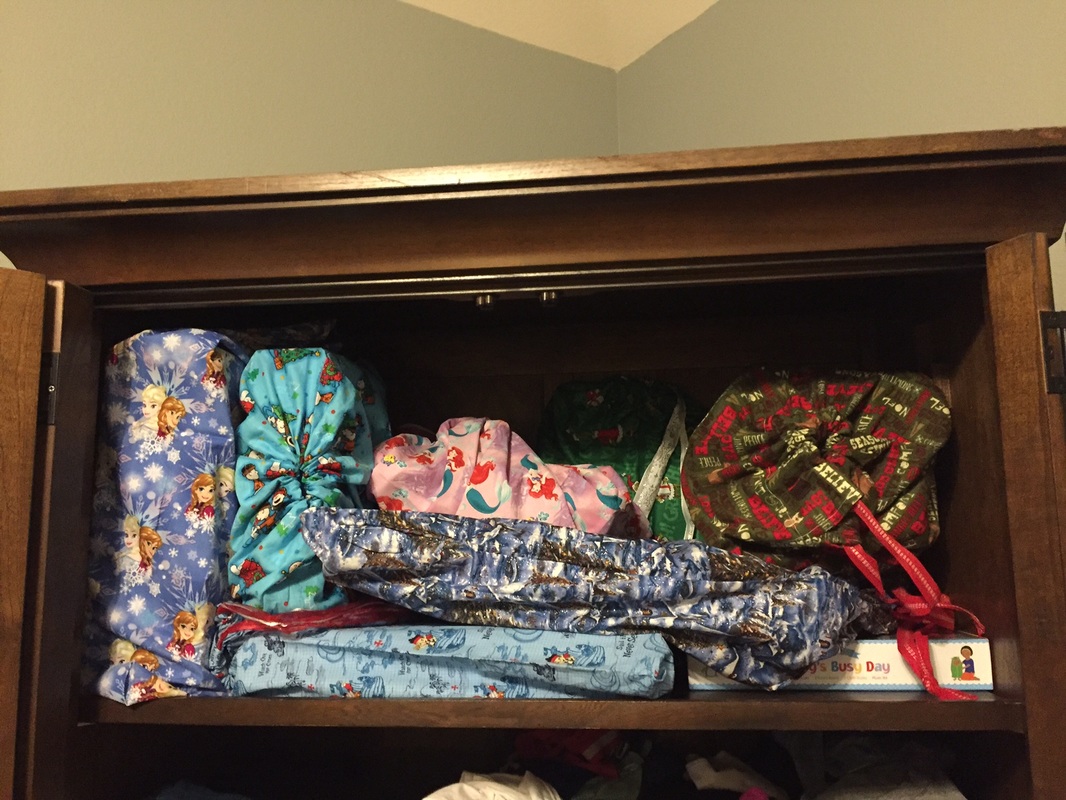 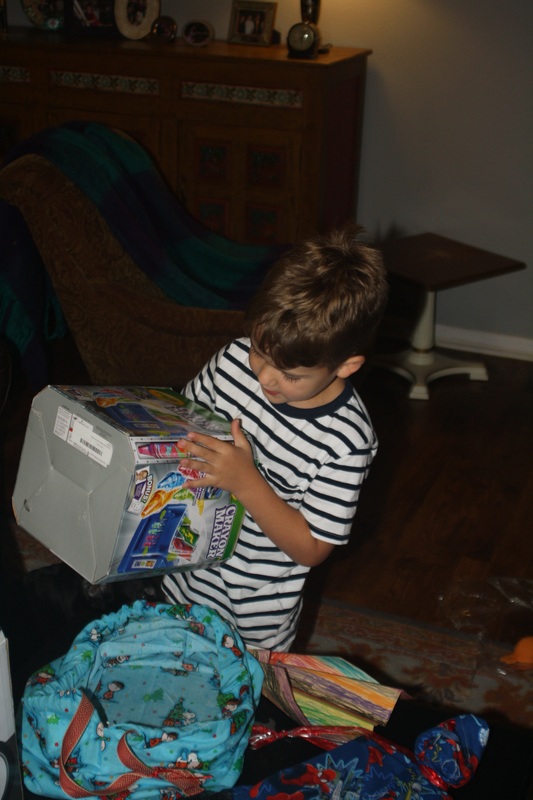 *Disclosure: This post contains affiliate links, meaning that I get a commission if you decide to make a purchase through my links, at no cost to you.
Materials: - Buy as much fabric as you'd like bags. I did about half a yard of fabric per a pattern which gave me 1-3 bags depending on how large or small I made them. I didn't really measure anything out because I wanted a million different size bags. - about 30” of ribbon per bag (a little more or a little less depending on bag size obviously) - Janome sewing machine - Thread of different colors - Fabric sewing scissors - Sewing pin set (with tape measure and pin cushion- all the basics) TUTORIAL: I'm not going to try and tell you how I did the sewing. Mainly because when I tried writing out I found it incredibly boring to try and originally re-write a blog that I followed for help on this. Spool of Thread's tutorial is better than anything I could put together. Very detailed. The only thing I'd add is not to sweat perfection. I left raw edges on the inside to save myself a few minutes effort (gasp) and I don't regret it for a minute! I signed up to host my daughter's first class social last week and had to come up with an idea for something for 10 kids to do... I was chatting with some co-workers about it, looking for ideas, and one particularly clever woman suggested Halloween sugar cookie decorating. What a perfect idea! Even though, normally I'm not the biggest fan of feeding kids sugary treats - but the cooking/decorating part was so fun it over-ruled my angst about that. I tell myself that the organic/whole grain version makes it slightly nutritious at least. The kids had a fantastic time! Here's my recipe (adapted from my fave woman Martha Stewart!): Sugar Cookie Recipe:
Lemon Icing Recipe:
Directions: Preheat oven to 325 degrees. Mix the dry ingredients together. In a separate bowl mix the wet ingredients and then combine both bowls. Sprinkle flour on the counter, roll the dough out. Using Halloween cookie cutters let the kids cut out the cookies. Bake for 12-16 min (until edges are brown). Let cool completely before icing. For the icing you just whisk the confectioners sugar with the milk until it's smooth. Add any spooky colors like orange and black (I use all-natural, vegan, non-GMO food coloring). Spread over cookies with a small spoon and add any of the sprinkles/decorations if you chose to. Icing will harden in ~20 min. 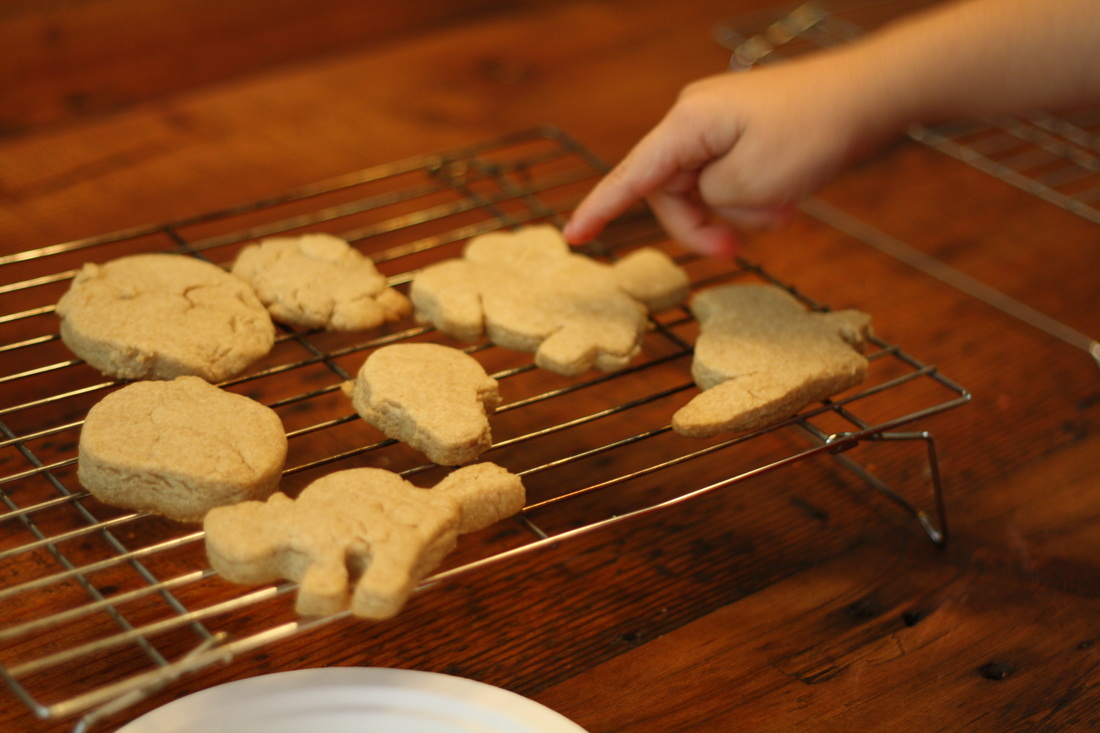 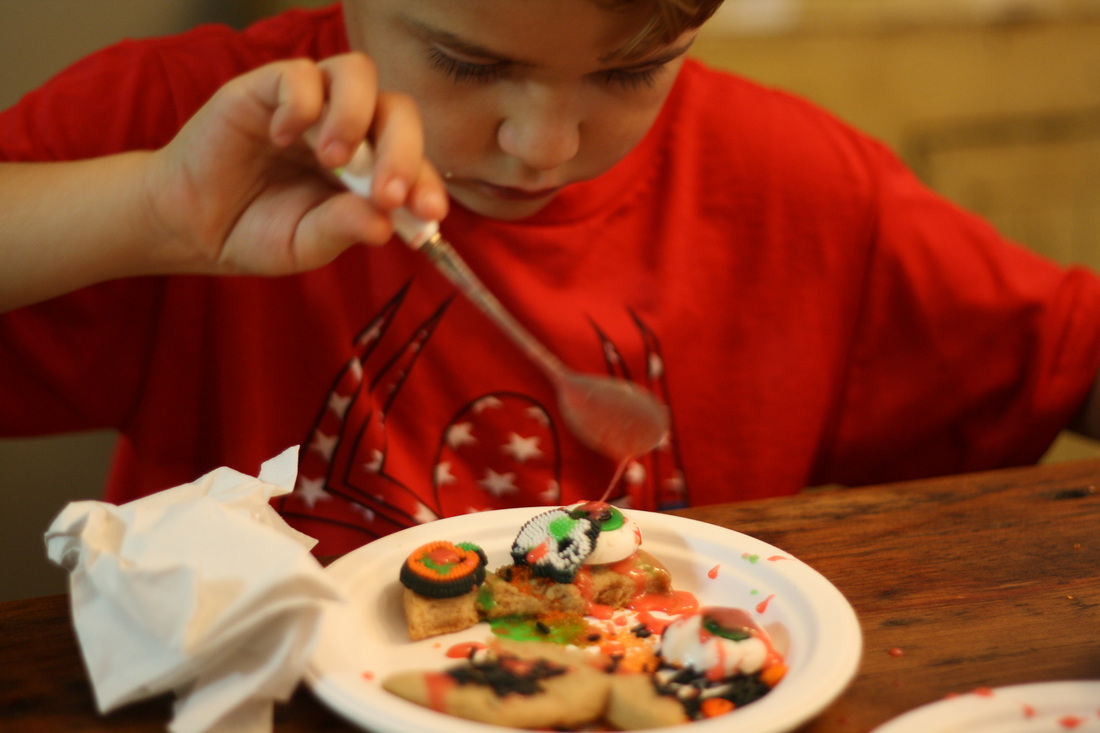 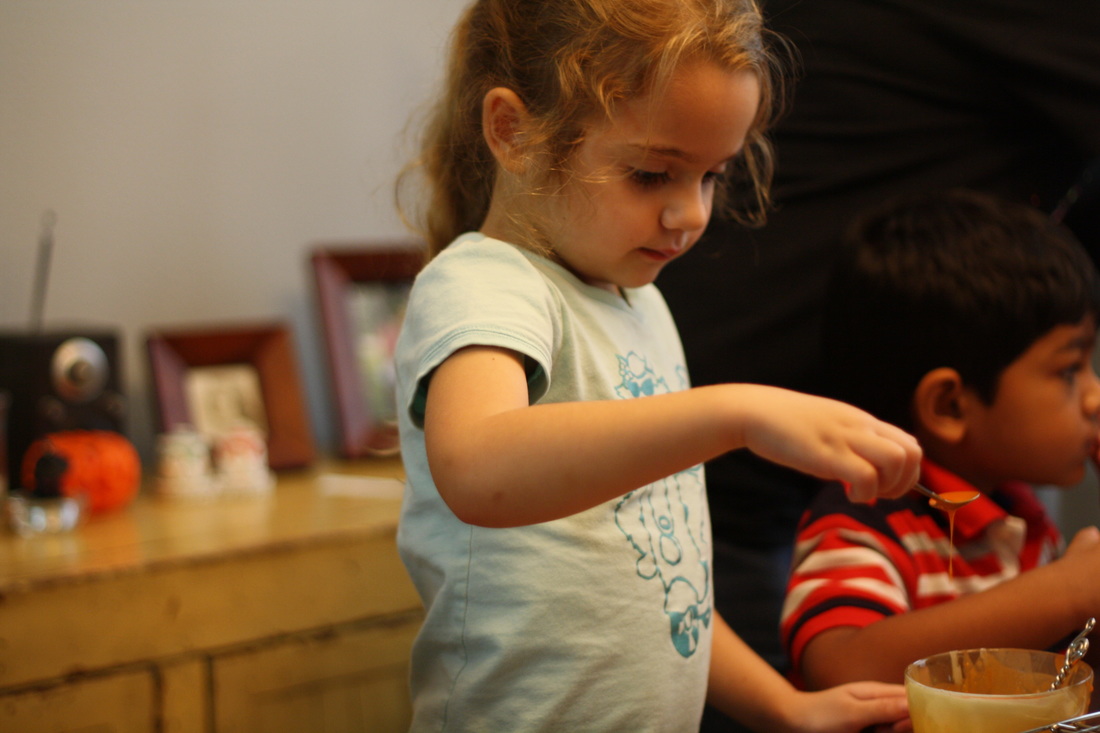 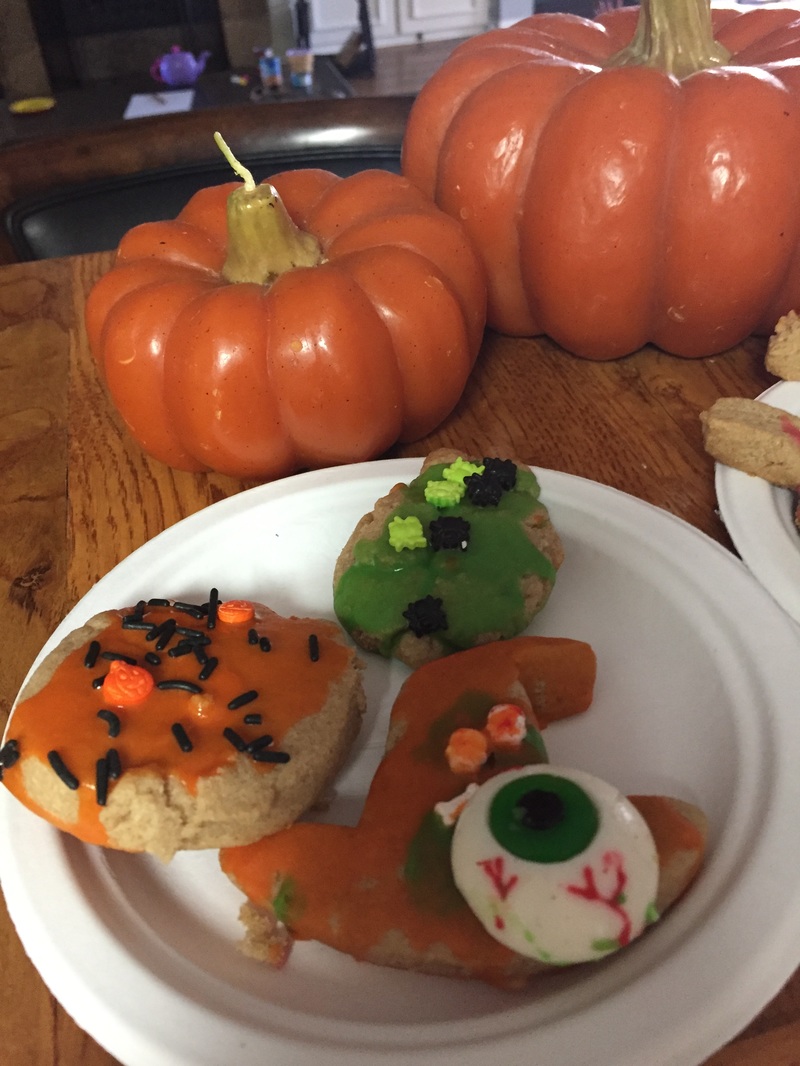 Products used in this project:
*Disclosure: This post contains affiliate links, meaning that I get a commission if you decide to make a purchase through my links, at no cost to you. I had a real life epiphany today. I've always loved the holidays. Christmas and Halloween are tied for my favorites. It was only today that I realized why it is that I love Halloween so much! Because I'm from Maine! And in Maine we like old things. Scary things. Haunted things. Our state treasure is Stephen King. You can see a flash of my hometown in Pet Sematary as the trucker who hits the boy in the beginning is driving along. Pretty much everyone I know back home will swear they've seen a ghost (myself included). We were often doing creepy teenage things like seances in cemeteries and communing with spirits through the Ouija board. Our homes, and churches, and graveyards date back to the 1700's. I came across this article from a friend's facebook post today that my hometown in Maine (Bucksport) is officially "the most haunted town in Maine." and I'm pretty sure that Maine is the most haunted state in the U.S. The tomb of our town's founder is cursed by the witch that he burned at the stake (that graveyard is... maybe 6 houses down from my mom's house). Ghost Hunters have done several shows there (and found it haunted of course) and at Fort Knox across the river. It's all a lot of fun. The crisp fall air, piles of leaves, dressing up and trick o'treating. It's just pure FUN. Just watch Hocus Pocus and you get an idea of the joy that is a New England Halloween. So I try to bring a little bit of Maine to every place I've lived. If I had unlimited time and funds my whole house would be a walk through horror fun house. Each year we do a little more- this is last year: 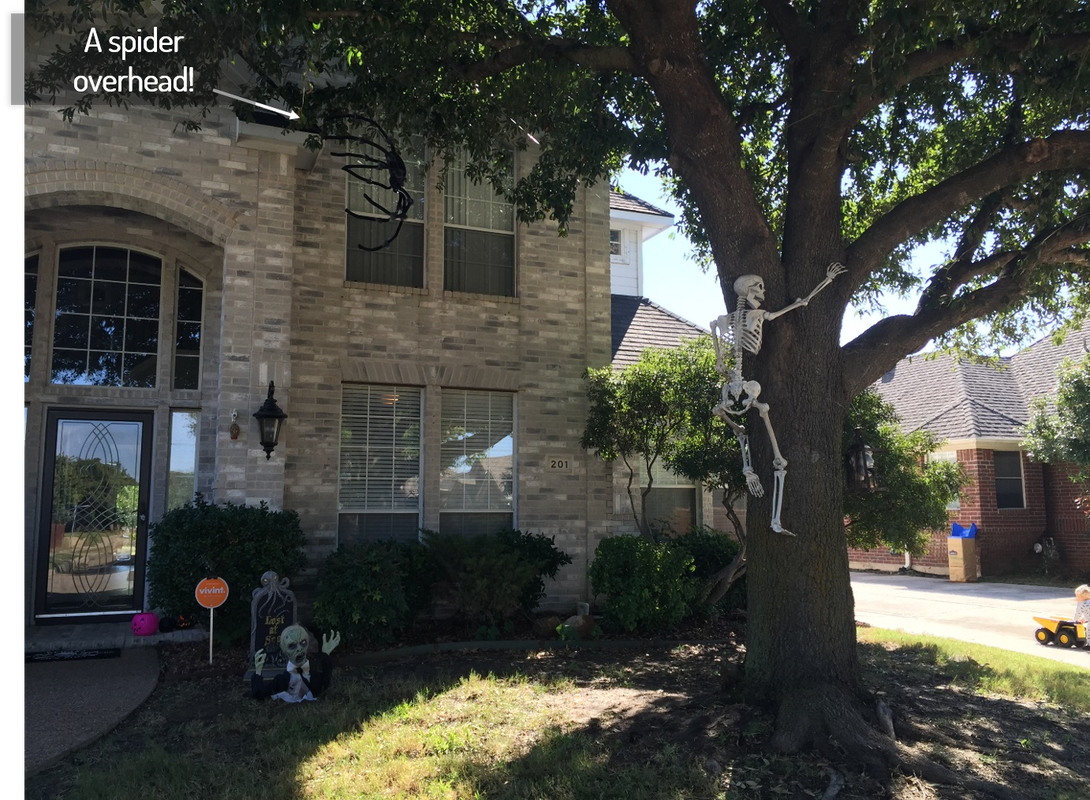 We hung the skeleton using fishing wire. A spider hangs above by fishing line as well. 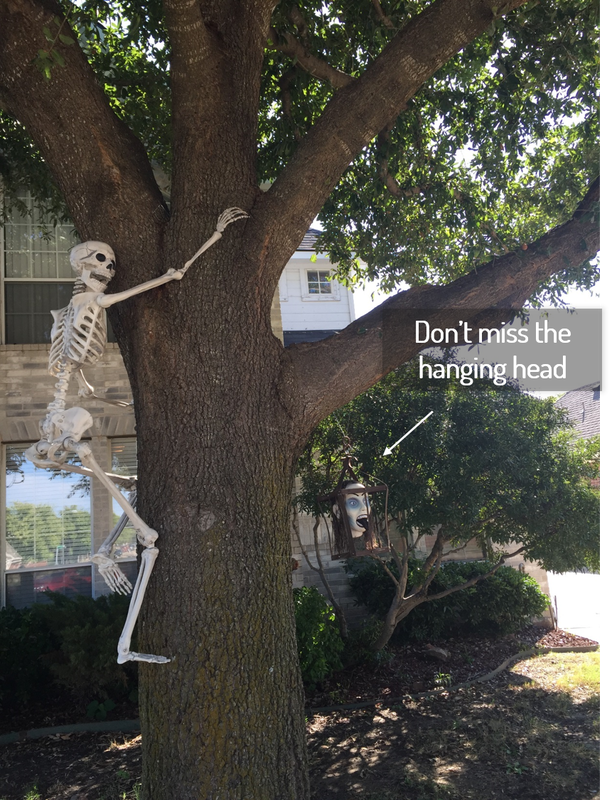 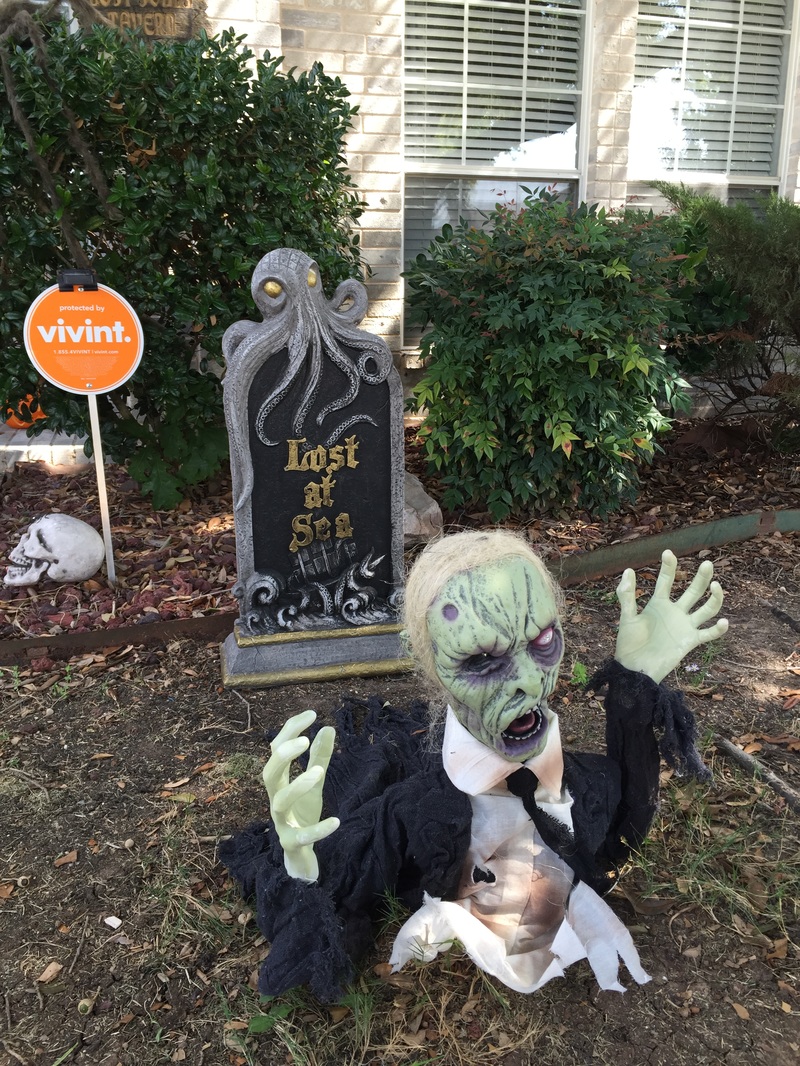 I've always got to add a nautical theme. Eventually I'd like a whole graveyard with wrought iron fencing... I'll likely work on that this month! 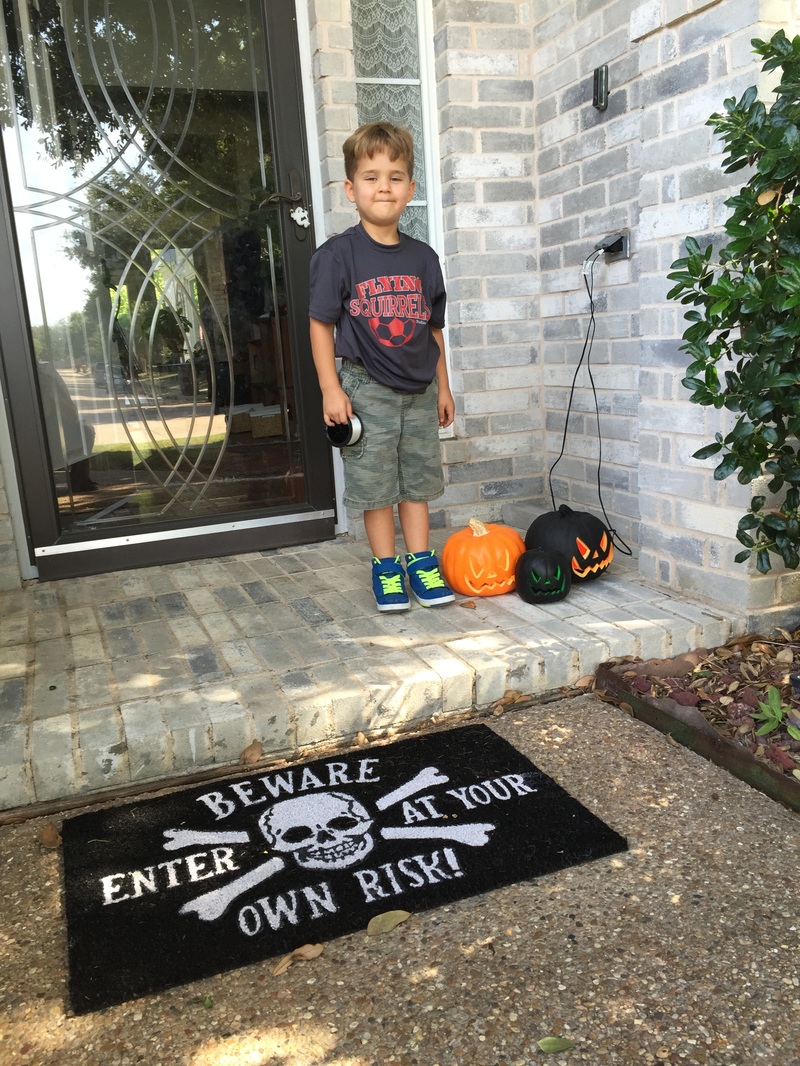 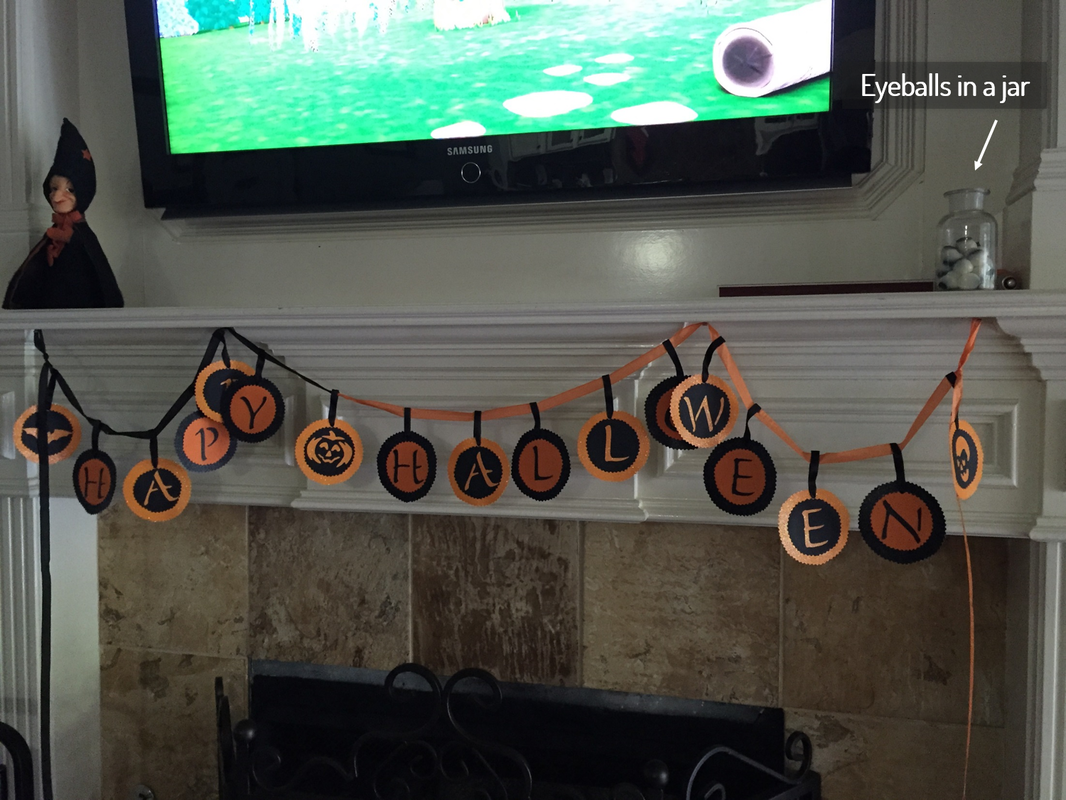   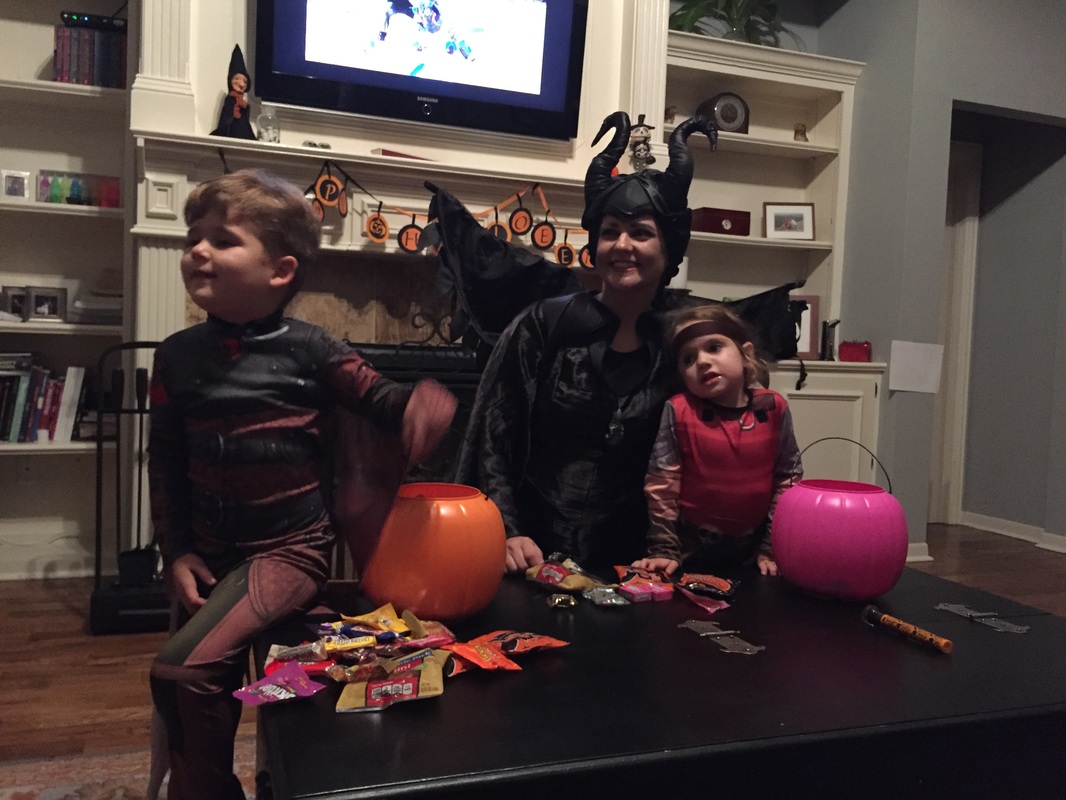 I dress up every year- because it's fun! Last year I was Maleficent and the kids were Hiccup and Astrid from How to Train your Dragon. Anyway, come back soon for a tutorial on how me made the Martha Stewart inspired large witch plywood cutout with her two cats. I'll also share the holograph how too. There are so many fun things you can do! Here's a share of my favorite scary front yards. Enjoy!
|