|
I signed up to host my daughter's first class social last week and had to come up with an idea for something for 10 kids to do... I was chatting with some co-workers about it, looking for ideas, and one particularly clever woman suggested Halloween sugar cookie decorating. What a perfect idea! Even though, normally I'm not the biggest fan of feeding kids sugary treats - but the cooking/decorating part was so fun it over-ruled my angst about that. I tell myself that the organic/whole grain version makes it slightly nutritious at least. The kids had a fantastic time! Here's my recipe (adapted from my fave woman Martha Stewart!): Sugar Cookie Recipe:
Lemon Icing Recipe:
Directions: Preheat oven to 325 degrees. Mix the dry ingredients together. In a separate bowl mix the wet ingredients and then combine both bowls. Sprinkle flour on the counter, roll the dough out. Using Halloween cookie cutters let the kids cut out the cookies. Bake for 12-16 min (until edges are brown). Let cool completely before icing. For the icing you just whisk the confectioners sugar with the milk until it's smooth. Add any spooky colors like orange and black (I use all-natural, vegan, non-GMO food coloring). Spread over cookies with a small spoon and add any of the sprinkles/decorations if you chose to. Icing will harden in ~20 min. 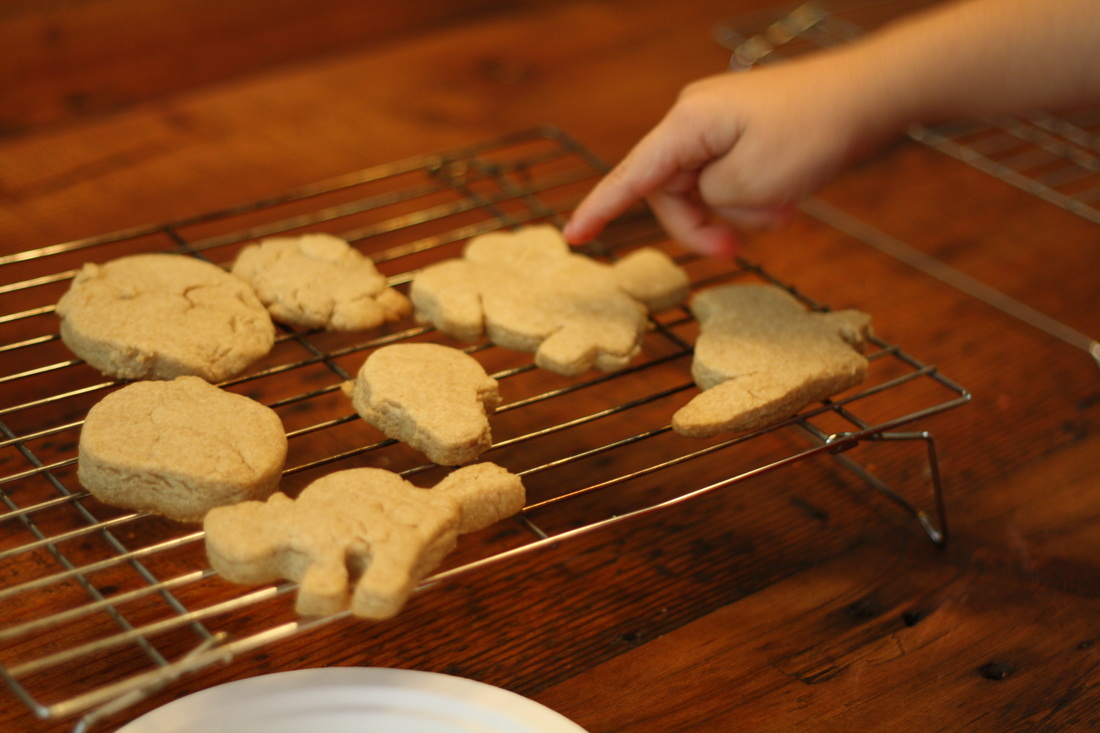 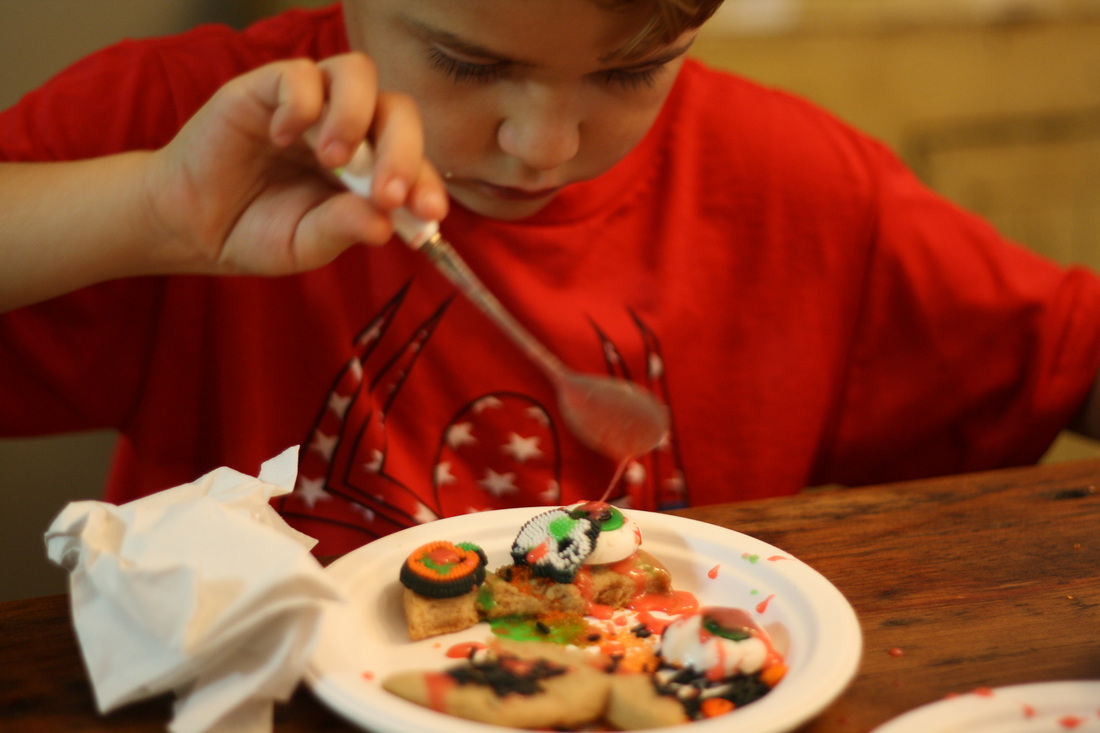 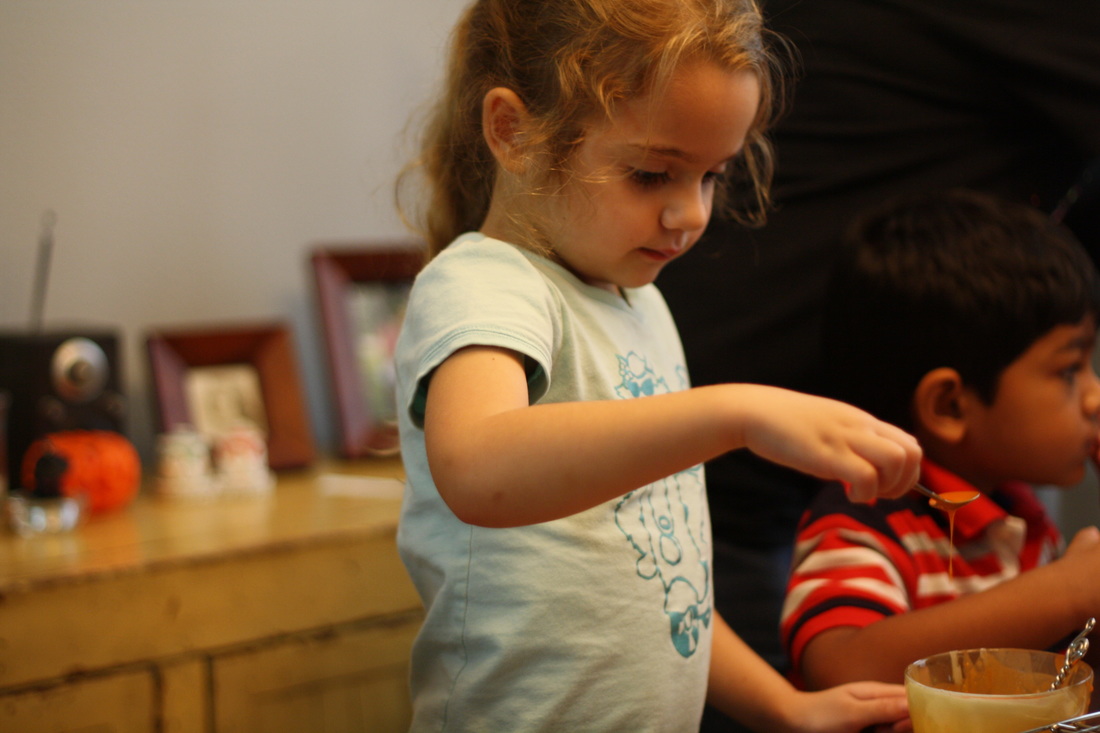 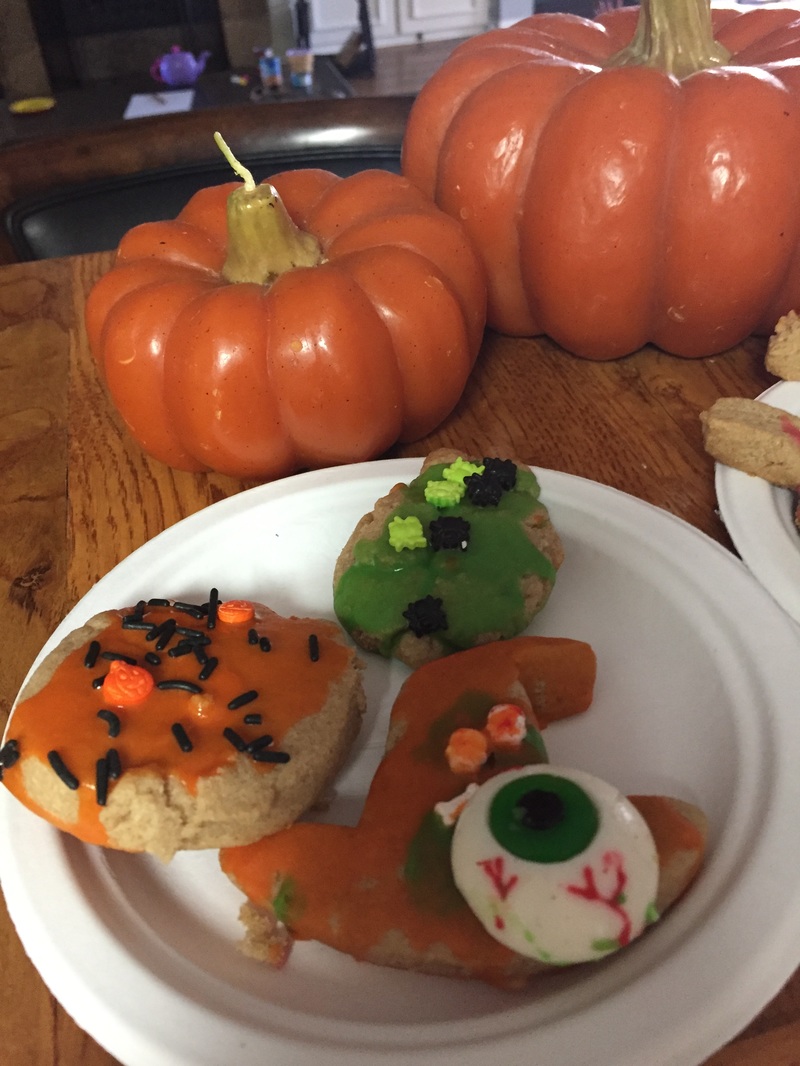 Products used in this project:
*Disclosure: This post contains affiliate links, meaning that I get a commission if you decide to make a purchase through my links, at no cost to you.
0 Comments
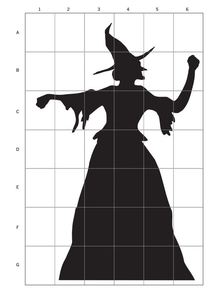
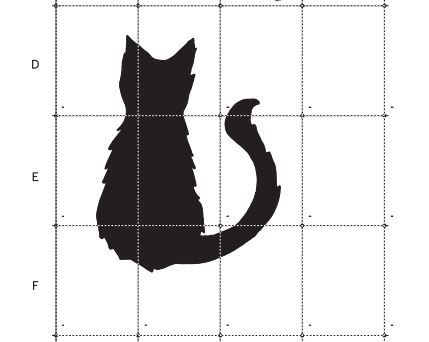
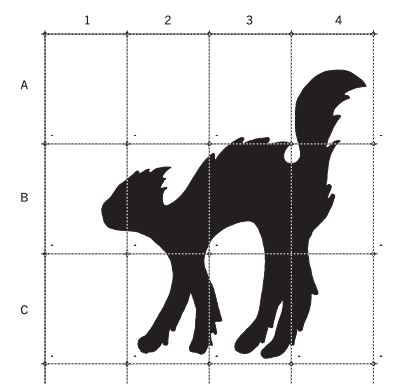
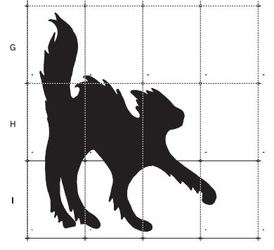
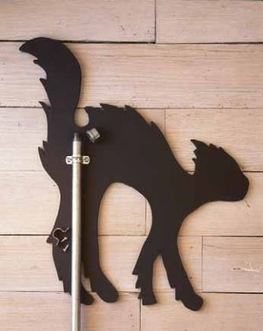
My husband and I made Martha Stewart's Witch and Cat silhouette lawn ornaments about eight or nine years ago. We put them out every year and we still love them! They're popular in the neighborhood and just make me happy. I highly recommend this project if you've got one weekend day to dedicate to it.. It's an easy one for beginners. I'm going to share how to get this done right quick:  Products used in this project: *Disclosure: This post contains affiliate links, meaning that I get a commission if you decide to make a purchase through my links, at no cost to you.
2. Now use the spray adhesive to adhere the whole which onto the plywood. Do the same for the cats. Use your jigsaw to cut out the design. When you're done you peel off the templates. We sanded the edges slightly and then painted them all black. Let them dry for about an hour. 3. Now you attach the conduit to the back of the witch and each cat using the conduit straps - 3 for the witch and 2 for each cat. We cut the witch's conduit 6' long and 3' long for the cats using a saw. 4. Don't forget to screw the cup hook into the witches' left hand so she can hold her lantern. Screw one more conduit strap on the back of the witches' right hand for the broom to slide into.
And you're done!! It's time to put them out on your lawn. You just hammer them in using a rubber mallet. Slide the witches broom through the conduit piece on the back of her hand and hang the lantern from the cup hook. I highly recommend a solar lantern, because then you're guaranteed that it will go on every night. I tried candles - which blew out within seconds of course (and probably broke fire laws) and led battery tea lights that you have to remember to turn off/on. Which obviously you don't ever remember. So solar is definitely the way to go! Place a cauldron at the witches feet for the full affect. Back light the witch and her cats using a yard stake-flood light like this one. You'll be the hit of the entire neighborhood. I highly recommend this project! I had a real life epiphany today. I've always loved the holidays. Christmas and Halloween are tied for my favorites. It was only today that I realized why it is that I love Halloween so much! Because I'm from Maine! And in Maine we like old things. Scary things. Haunted things. Our state treasure is Stephen King. You can see a flash of my hometown in Pet Sematary as the trucker who hits the boy in the beginning is driving along. Pretty much everyone I know back home will swear they've seen a ghost (myself included). We were often doing creepy teenage things like seances in cemeteries and communing with spirits through the Ouija board. Our homes, and churches, and graveyards date back to the 1700's. I came across this article from a friend's facebook post today that my hometown in Maine (Bucksport) is officially "the most haunted town in Maine." and I'm pretty sure that Maine is the most haunted state in the U.S. The tomb of our town's founder is cursed by the witch that he burned at the stake (that graveyard is... maybe 6 houses down from my mom's house). Ghost Hunters have done several shows there (and found it haunted of course) and at Fort Knox across the river. It's all a lot of fun. The crisp fall air, piles of leaves, dressing up and trick o'treating. It's just pure FUN. Just watch Hocus Pocus and you get an idea of the joy that is a New England Halloween. So I try to bring a little bit of Maine to every place I've lived. If I had unlimited time and funds my whole house would be a walk through horror fun house. Each year we do a little more- this is last year: 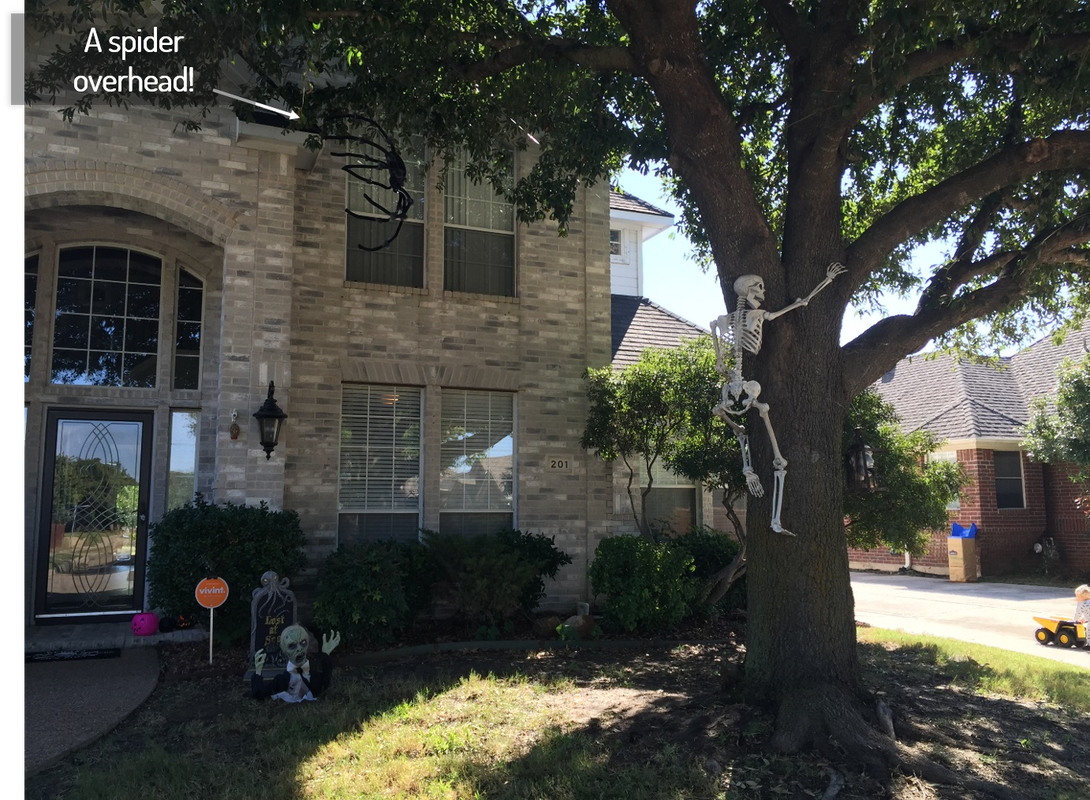 We hung the skeleton using fishing wire. A spider hangs above by fishing line as well. 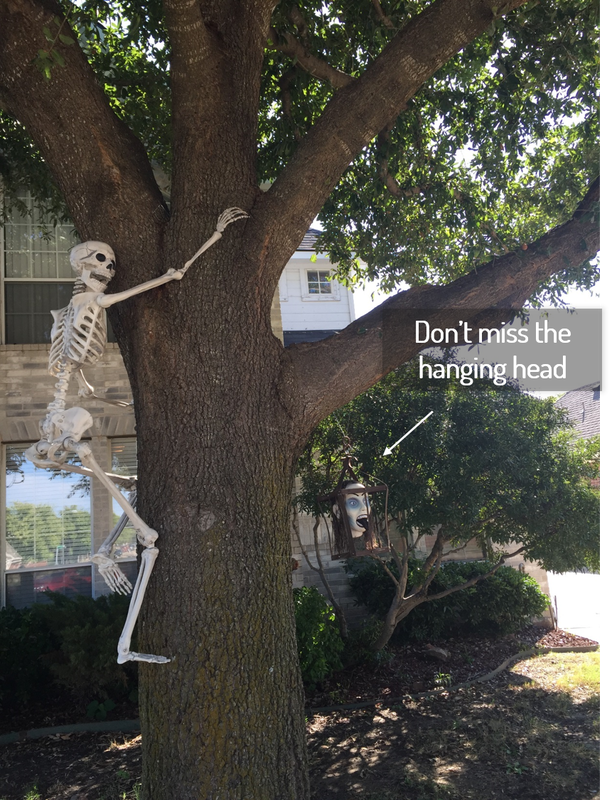 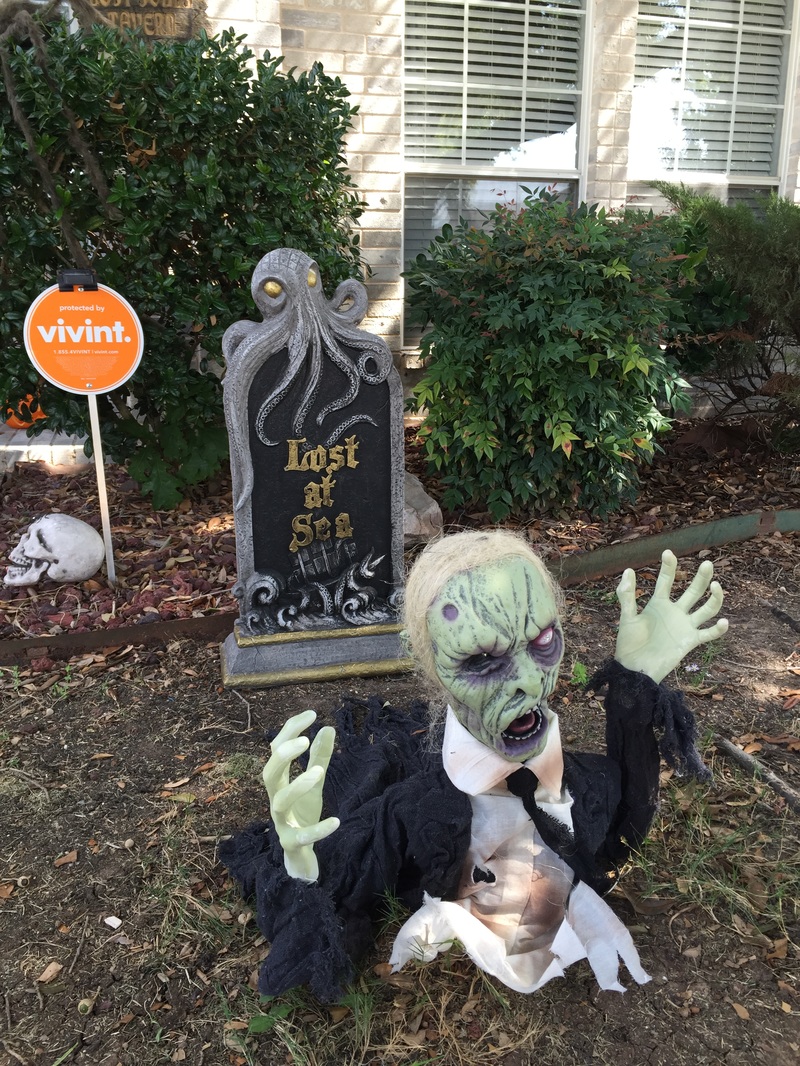 I've always got to add a nautical theme. Eventually I'd like a whole graveyard with wrought iron fencing... I'll likely work on that this month! 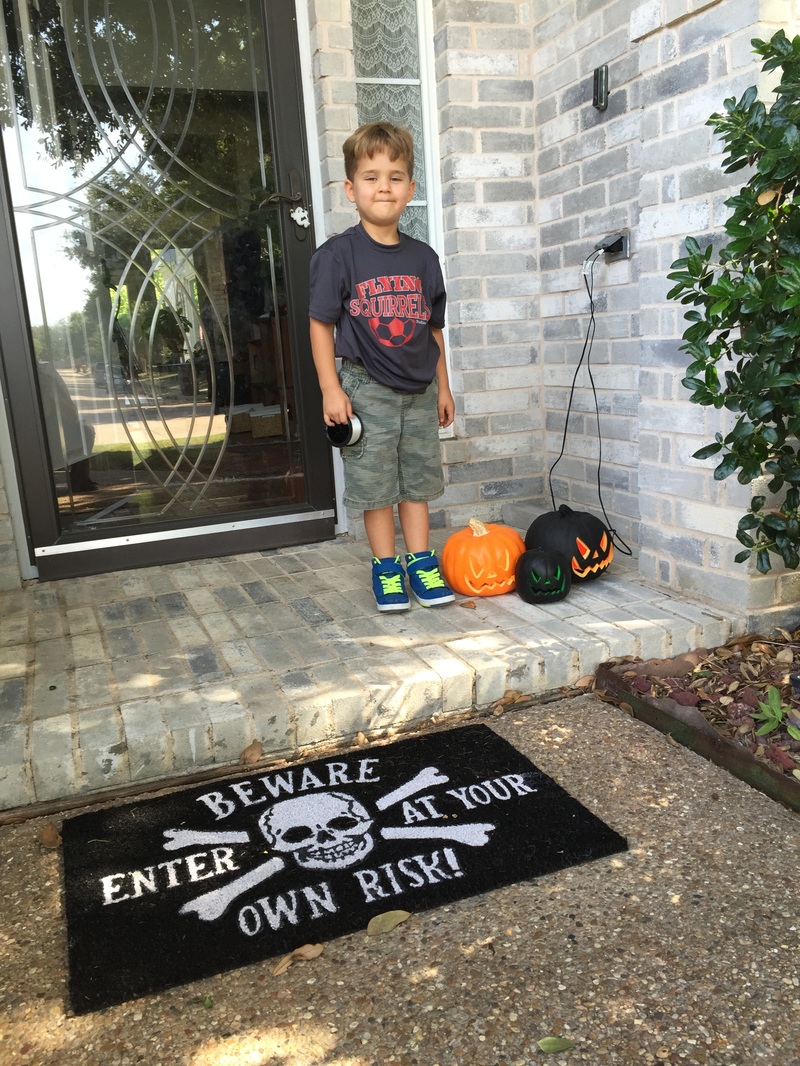 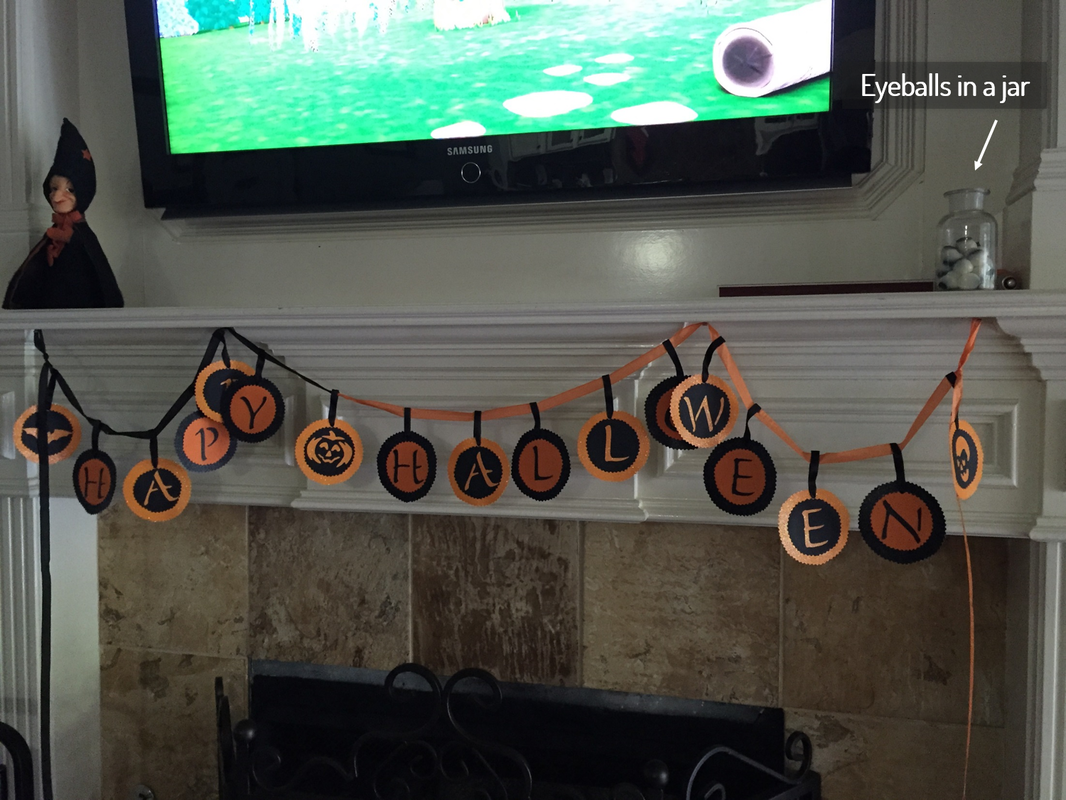   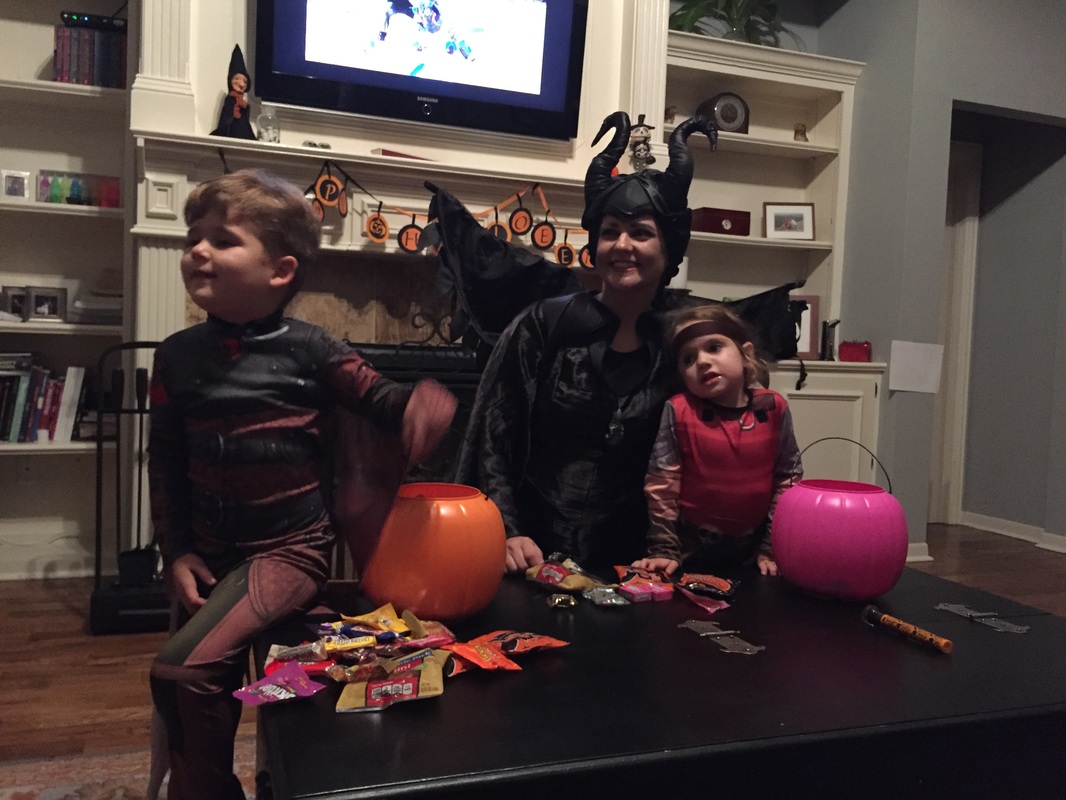 I dress up every year- because it's fun! Last year I was Maleficent and the kids were Hiccup and Astrid from How to Train your Dragon. Anyway, come back soon for a tutorial on how me made the Martha Stewart inspired large witch plywood cutout with her two cats. I'll also share the holograph how too. There are so many fun things you can do! Here's a share of my favorite scary front yards. Enjoy!
|