|
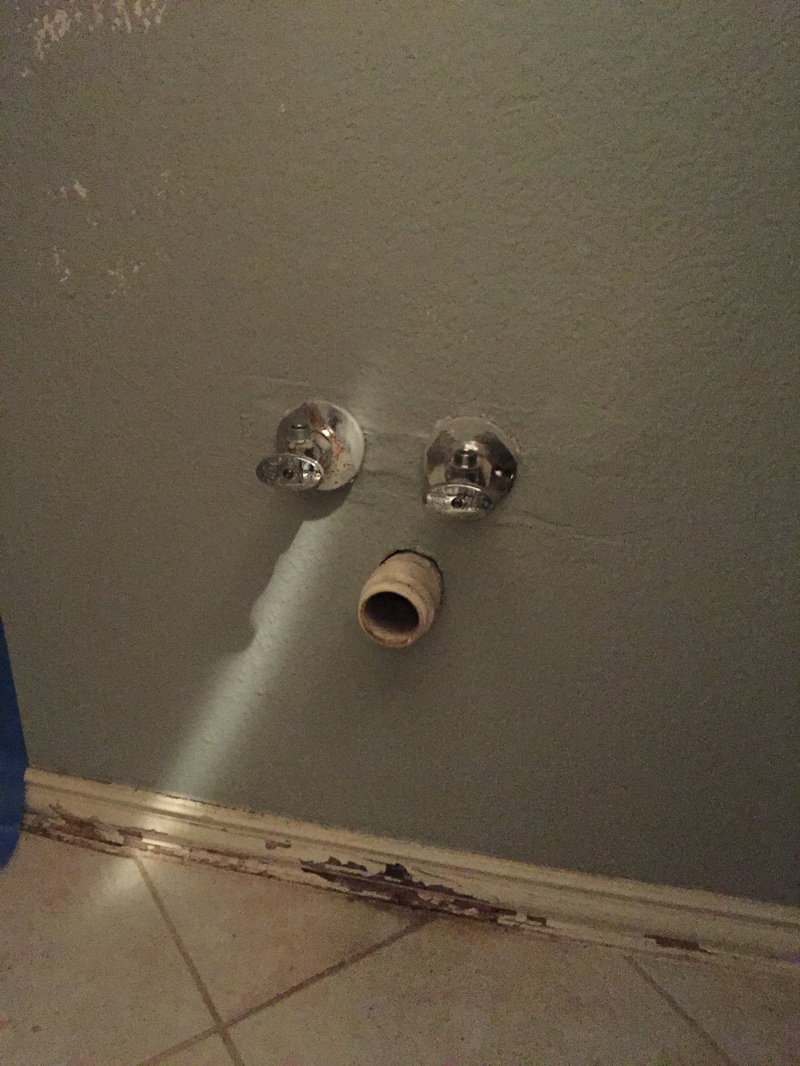
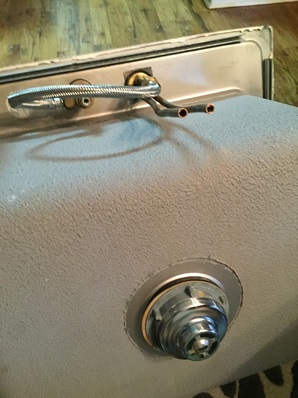
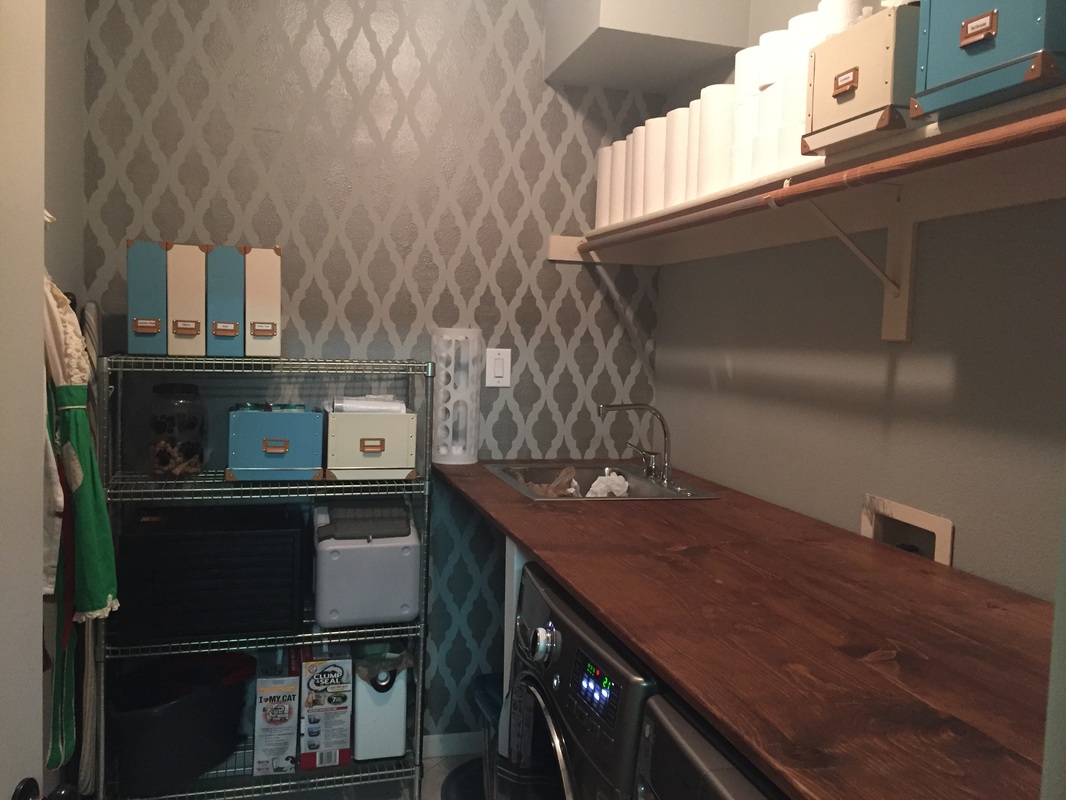
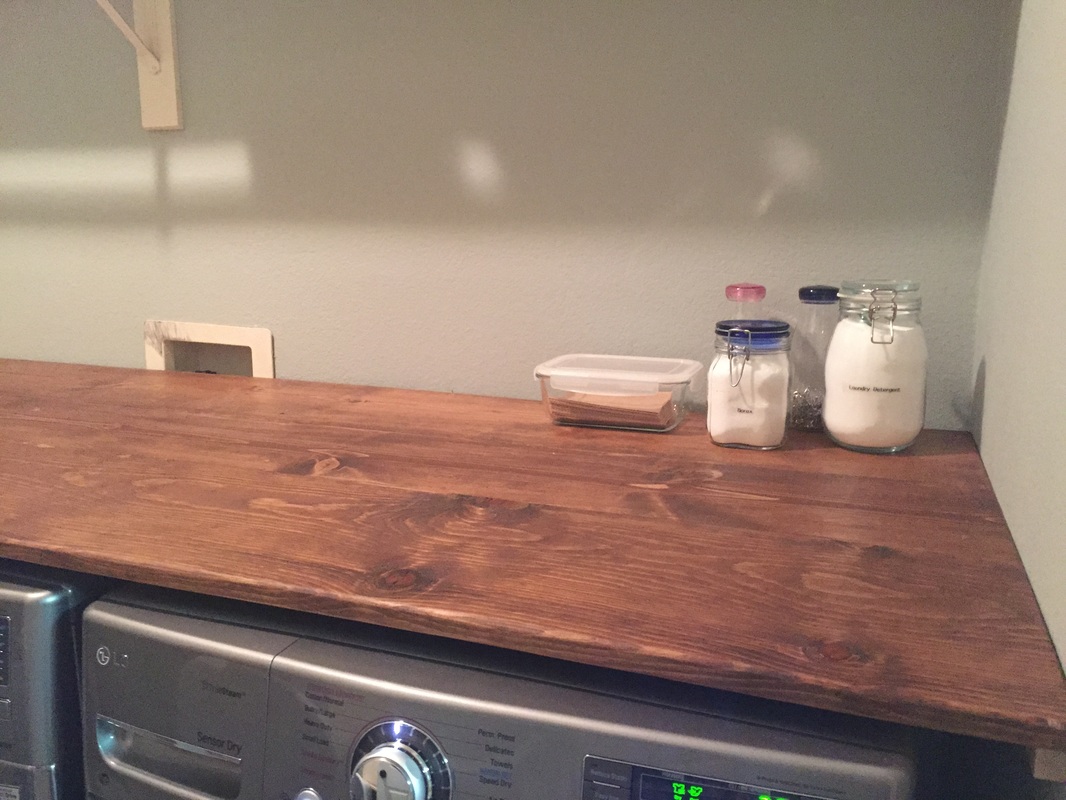
My husband and I bought our first washer and dryer set back in 2005. We were moving into our first house, I was in college, and we could afford only the cheapest bottom-of-the-line set available. We kept that W&D set for 11 years, through 1,000’s of washes and 2 babies (which = 10X the laundry). Finally last year, we couldn’t ignore the growing amount of rust inside the washer or that clothes were coming out with more holes and stains than when they went in. We patiently waited a few weeks for Black Friday and finally bought ourselves a fancy new GE front loading washer and dryer set. I didn't think I was an adult when I served in the Navy, not really when I got married, maybe when I had two kids... But the day we brought home those gleaming new W&D... Finally it was certain, I was officially an adult- Because I was so bloody excited over a W&D!! However, there was a catch to the excitement. Having these gorgeous new appliances shined a light on how neglected and truly ugly our laundry room was. We decided that “nobody puts baby in the corner” – those fancy new gadgets could not live in the hovel we were calling a laundry room! I mean... look at this! Awful. 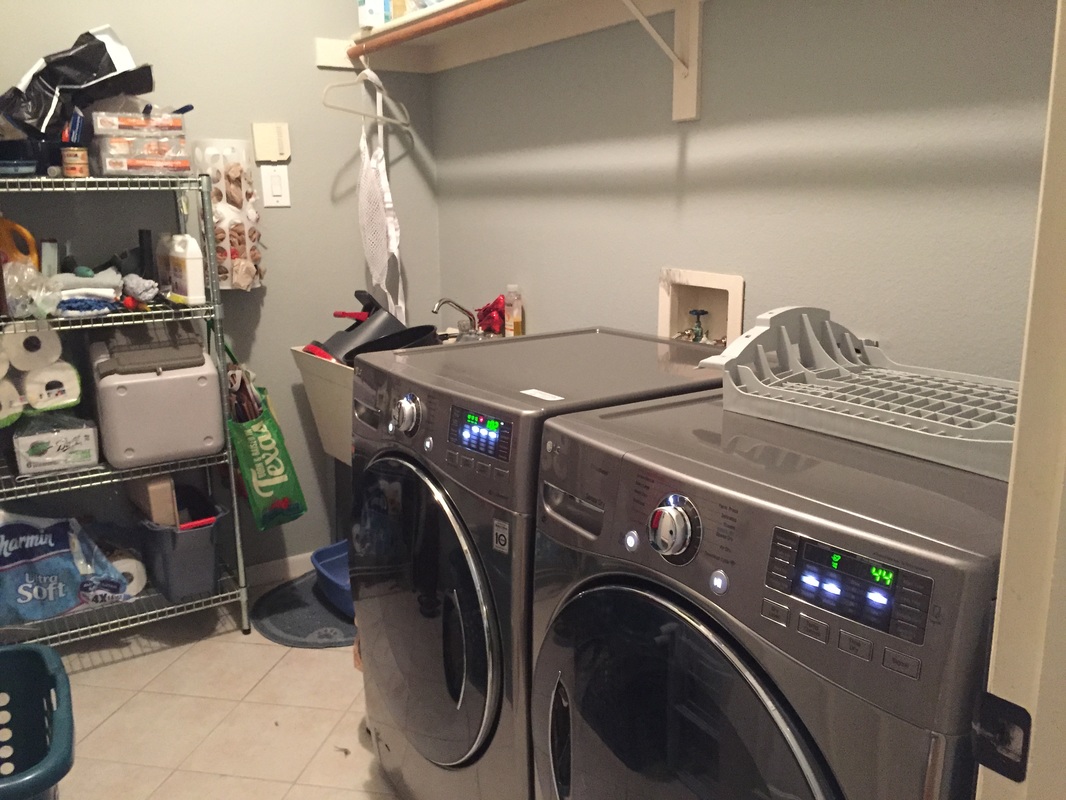 So we decided to fix 'er up! First we cleaned the laundry room out and pulled out the extremely abused faculty cleaning closet utility sink we’d inherited from the previous home owner. I painted the laundry room walls the same gray/blue as the rest of the house, which immediately made a drastic difference. I decided to give it a-go with my first stenciling project. I searched and searched through Etsy and found my now favorite stencil shop Cutting Edge Stencils with countless patterns, helpful tutorial videos, and materials you need to get started. I bought the Taj Mahal Allover stencil and the Stencils Essentials Kit and watched their video tutorial a few times over. I spent half a Saturday painting the stencil on the main wall in the laundry room. A clip on stencil level kept it straight the whole way through. It’s a methodical slow business, overlapping each top layer of the stencil from the top of the wall to the bottom. I won’t even try to explain it as well as their video does, so I’ll just share that! I did my laundry room wall in a silver paint. I probably used a bit too much paint on my roller because I had a good amount of bleeding. By the time I was done the stencil was pretty wrecked. But I didn’t plan on using it anywhere else in the house and trashed it. I gave the paint a day to dry and I spent the better part of Sunday going over the stencil by hand with the gray wall paint, touching up the messy blotches. I got pretty meticulous with it – but I’m really glad I did. Because if there was one blotch somewhere on that wall, I’d look at it every time I went into the laundry room for the rest of my life! 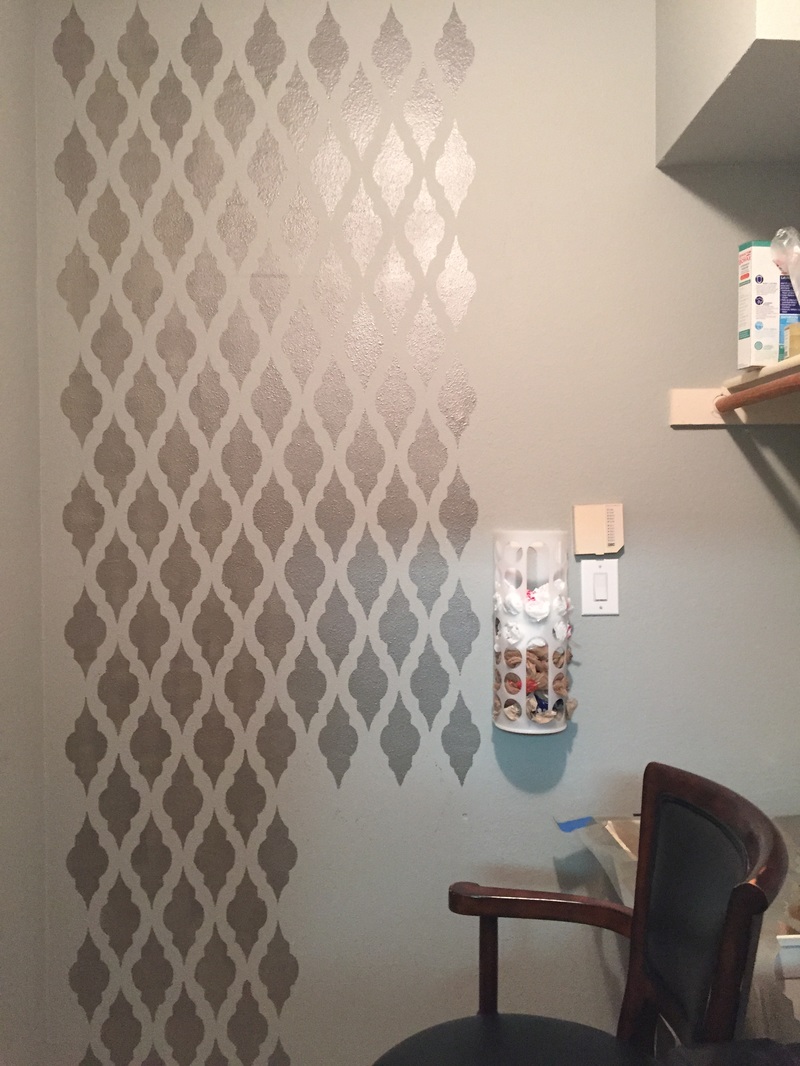 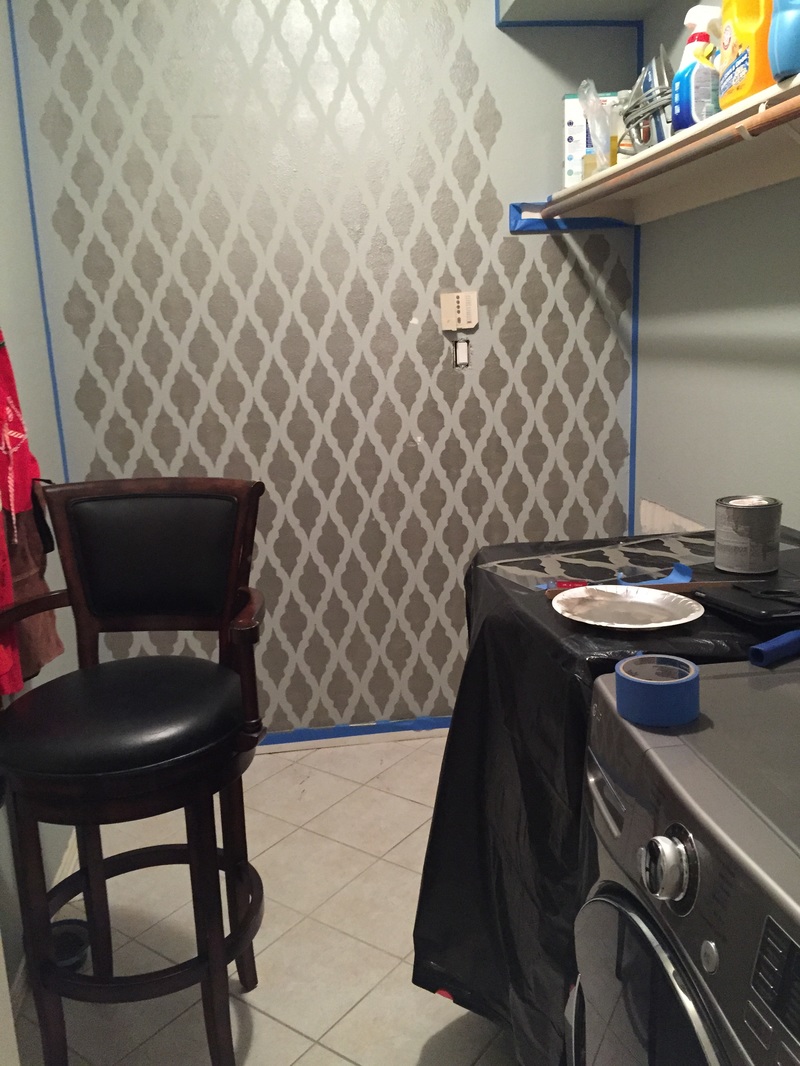 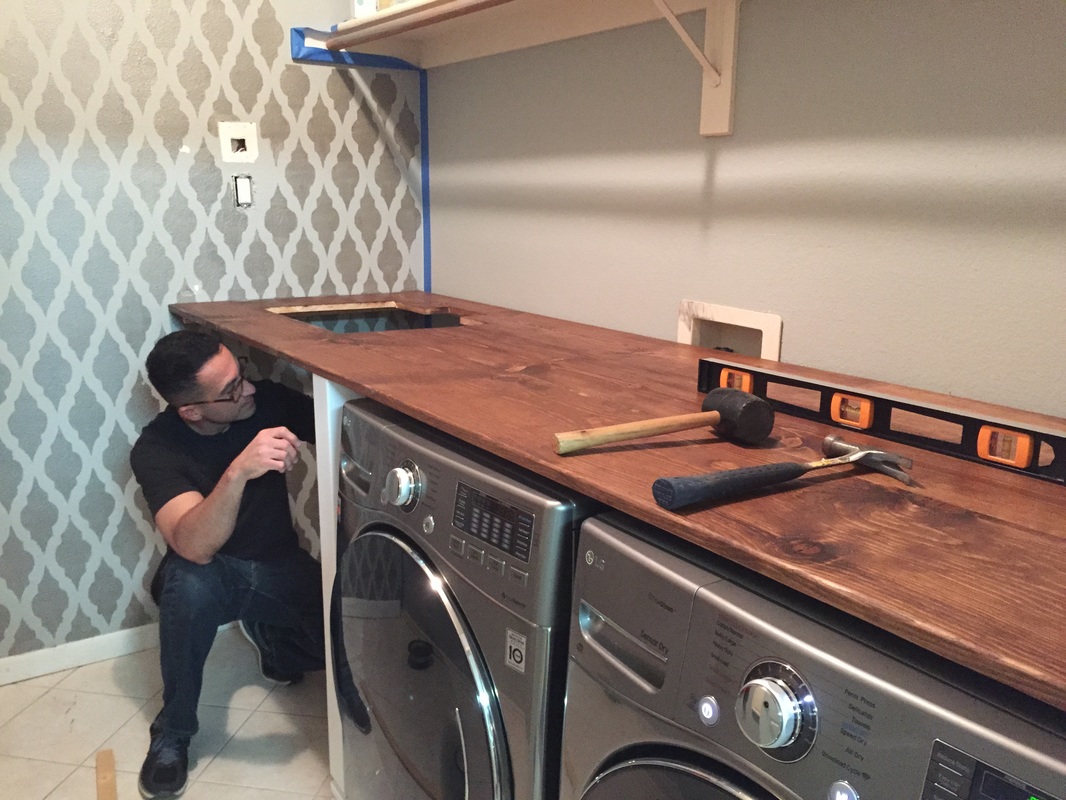 I don’t have to worry about the boards separating and I know that the joints are secure and hidden. I used the Kreg on the support legs that I bought at Home Depot as well and everything came out perfect. Most of the time when I decide to tackle a project like this it takes double the time as an ordinary human because problems always seem to arise that were totally unexpected. Not this time, everything went smoothly and the end result was beautiful! After some sanding, staining, and sealing, we ended up with a counter top that we couldn’t purchase anywhere, for half the price of something smaller. Winning! Back to Amber: I’d found a big utility-sized sink on craigslist for a STEAL of $25! (This thing goes for hundreds $$ in the stores). Challie cut a hole in the counter top and set it in using a silicone sealant. Connected the water pipes and drain and it worked on the first shot.
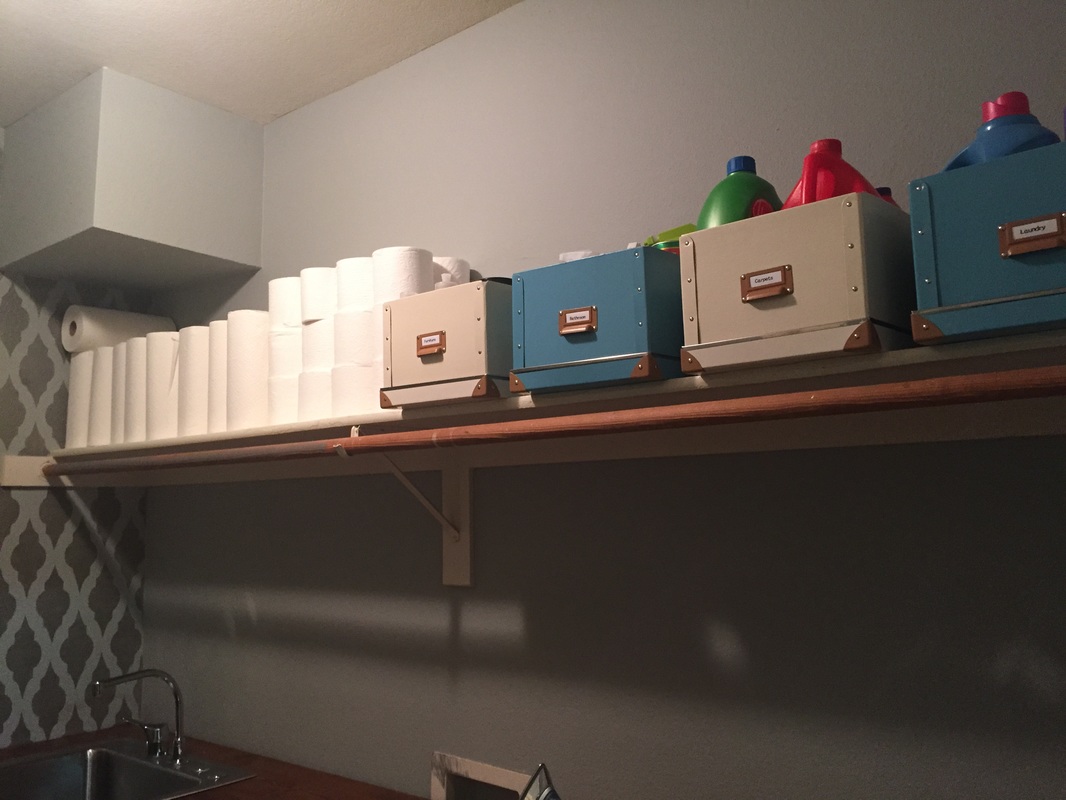
All I had left to do with some organization of the junk that had accumulated in the laundry room (storage) closet. So I hit up Ikea and bought some of their adorable and inexpensive FJÄLLA boxes and magazine files in blue. I busted out my Epson Label Maker and got down with some ridiculous organization labeling. I can get pretty into the details and I never regret it. I scavenged my kitchen for some empty glass containers to hold laundry detergent and dryer sheets. Everything now has its place and every time I open the laundry room door I appreciate the beautiful view. We added our metal bakers rack that we’ve had for 15+ years. It’s served as kitchen storage, garage storage rack, and now laundry room storage rack. I sewed two curtains with a silver/blue sateen fabric from Joann Fabric. I loosely followed this blog tutorial on the Wicker House Blog. The curtain to the left of the washer and dryer hides the cats litter box. Not only does it keep it out of site, but it had the unintended happy consequence of cutting down on kitty litter that falls on the floor and keeping the occasional unpleasant odor contained. 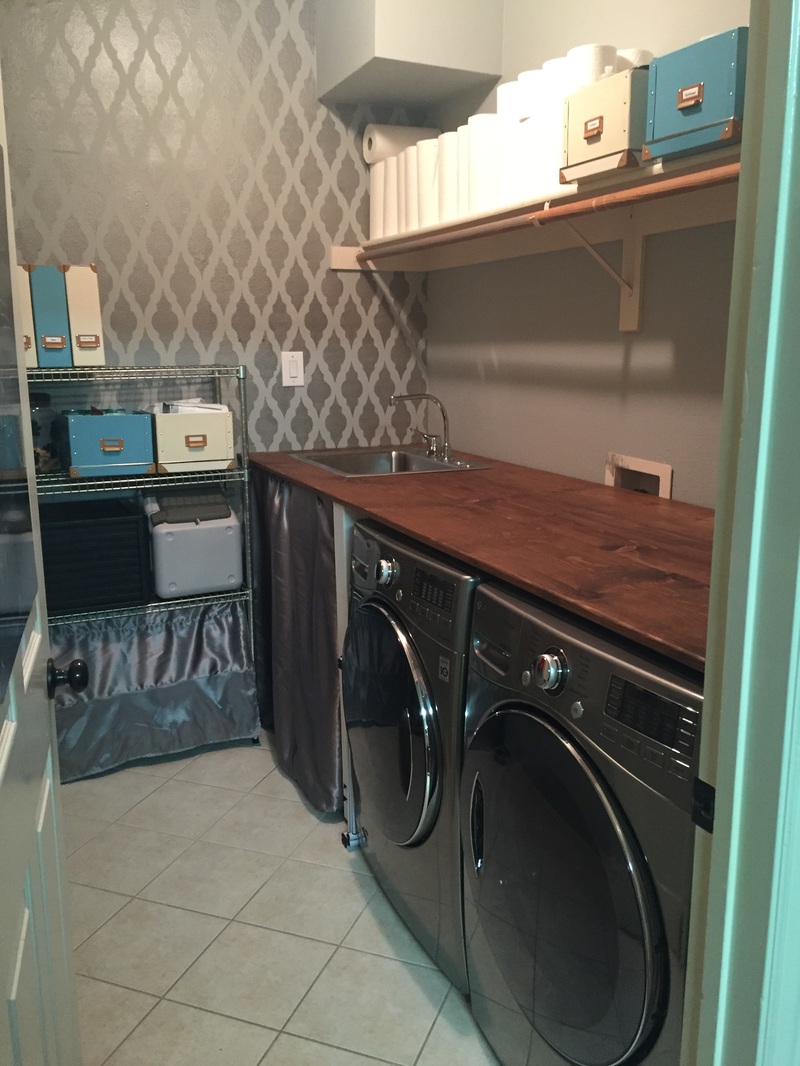 Our finishing touch was to add a cat door to the laundry room so the dogs would stop stalking our cat’s (Handsome Rob) private space and eating his food (or worse his p@@p- UGH sooo gross). Not only that, but the bristles on the cat door brushes his coat every time he goes through it and keeps dander allergens down. It was a pretty big project that took quite a few weeks from start to finish (we’ve got kids and full-time jobs, so nothing is done in one weekend anymore). But it’s definitely one of my top favorite result of all time that I force guests to oooh and ahhh over whenever they stop by for the first time (what, I’m proud!). It’s just so pretty- that room is now my happy place. I seriously love doing laundry now. I’ll shut the door, put Netflix on my iPad, and take my sweet time folding every piece of clothing our family owns. Peace and Joy can be bought for just a few hundred dollars in materials after all! Total Cost of Project: $225
Products mentioned in this blog:
1 Comment
Cherise
6/1/2020 10:30:47 pm
Wow the stenciling is a game changer. I’ve gotta do this. Leave a Reply. |