Urban Family Homesteader
  • DIY Projects
  • Recipes
  • Going Solar
  • Backyard Chickens
  • Blog

Urban family homesteader

How to Make Homemade Pasta

8/14/2016

3 Comments

 
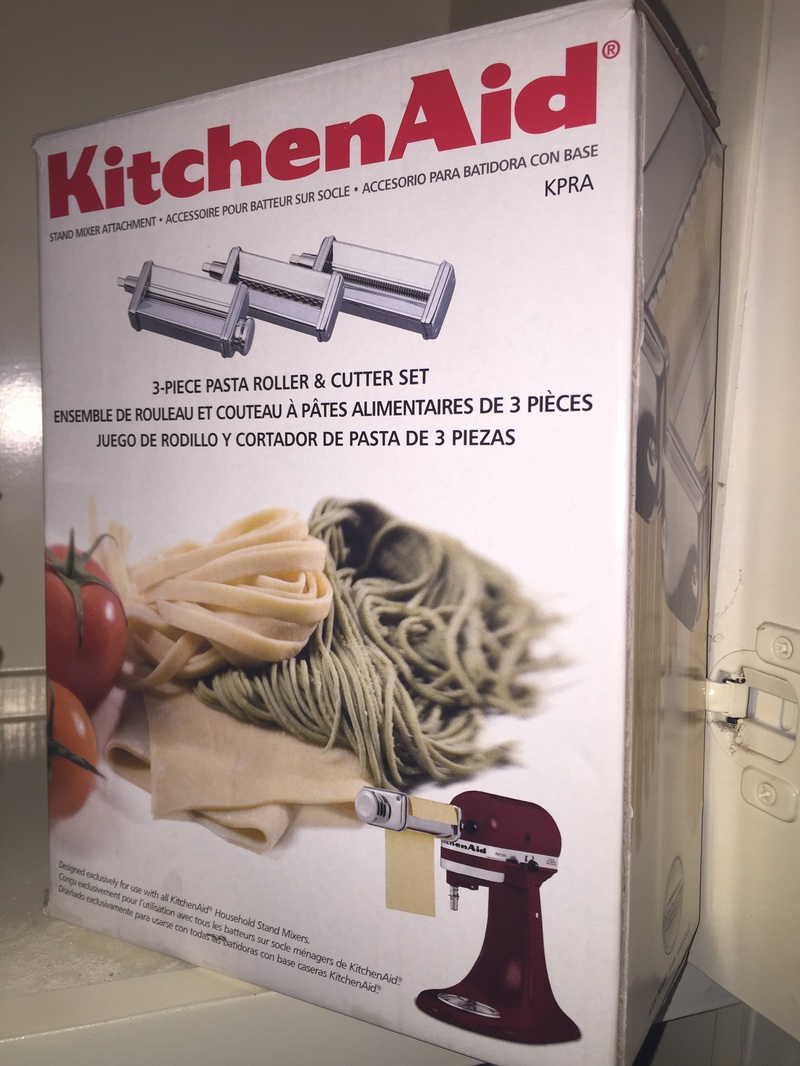
About three years ago I bought a KitchenAid 5-quart Artisan Stand Mixer. Pretty quickly I started acquiring all the fun attachments that can go along with it. I bought the slicer/shredder attachment, the food grinder attachment, and the grain mill attachment. The grain mill is tied for my #1 favorite - it works so great I started using it more than my Blendtec Kitchen Mill so I ended up giving the Blendtec to my mother since she wanted to start milling her own flour too.

The other attachment that is tied for my #1 Favorite is the Pasta Roller and Ravioli Maker. Come to find out, making pasta is actually really easy! 

Picture
Picture

The pasta roller attachment comes with a handy little manual with some really accessible pasta recipes. To make an egg pasta it's literally only four ingredients: 4 eggs, 3 1/2 cups flour, 1/2 tsp salt, and 1 tbs water.

Egg Pasta Ingredients:
  • 4 eggs
  • 3 1/2 cups flour*
  • 1/2 tsp salt
  • 1 tbs water.

*I like to use flour that I mill myself from organic Durum Wheat Berries; the hardest of all wheat and the most commonly used for pastas. I had a hard time finding these - Whole Foods and Central Market never carries them. I've purchased from Purcell Mountain Farms (Azure Standard has them, but they only sell in bulks of 20 lbs). Mill the Durum Wheat Berries until you get the 3 1/2 cups of Durum Semolina Flour you need. It's confusing - but apparently grinding the grain is a simple form of processing that turns Durum Wheat Berries into a flour called "Semolina Flour," 

Egg Pasta Directions:
  • Mix the eggs, flour, salt, and water in your mixer together with a flat beater for about a min
  • Then you put on the dough hook for ~2 min (the dough hook comes with the mixer).
  • Take the dough out of the bowl and hand knead it for just a minute or two
  • Let it rest for 20 minutes.
  • Cut the pasta into 4 pieces and feed it into the pasta roller attachment starting at the thickest "1" setting which kneads and flattens the dough.
  • Feed the pasta sheets through 4-5 times at the "1" setting which kneads it until there's some flexibility and softness.
  • Shut off the mixer and move the setting to "2" and feed it through another 4 times to continue to knead it and thin the dough further and further.
  • Shut it off in between every setting. After setting "2" you only need to feed it through the rest of the settings one time. You only do the kneading on "1" and "2" to warm it up. Take the pasta sheet to:
  • "3" setting for thick noodles
  • "4" for egg noodles
  • "5" for lasagna noodles, fettuccine, spaghetti, and ravioli
  • "6" or "7" (depending on your preference) for tortellini, thin fettuccine, and linguine,
  • "7" or "8" for very thin angel-hair pasta/capellini or very fine linguine..

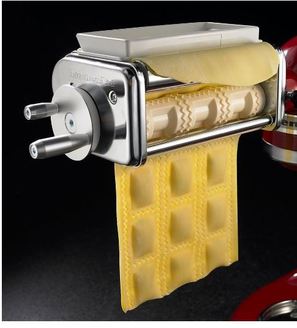
The absolute best lasagna I've ever had was an adapted Martha Stewart recipe using my own homemade lasagna sheets (honestly)! Recipe is shared at the bottom of this post.
​
Picture

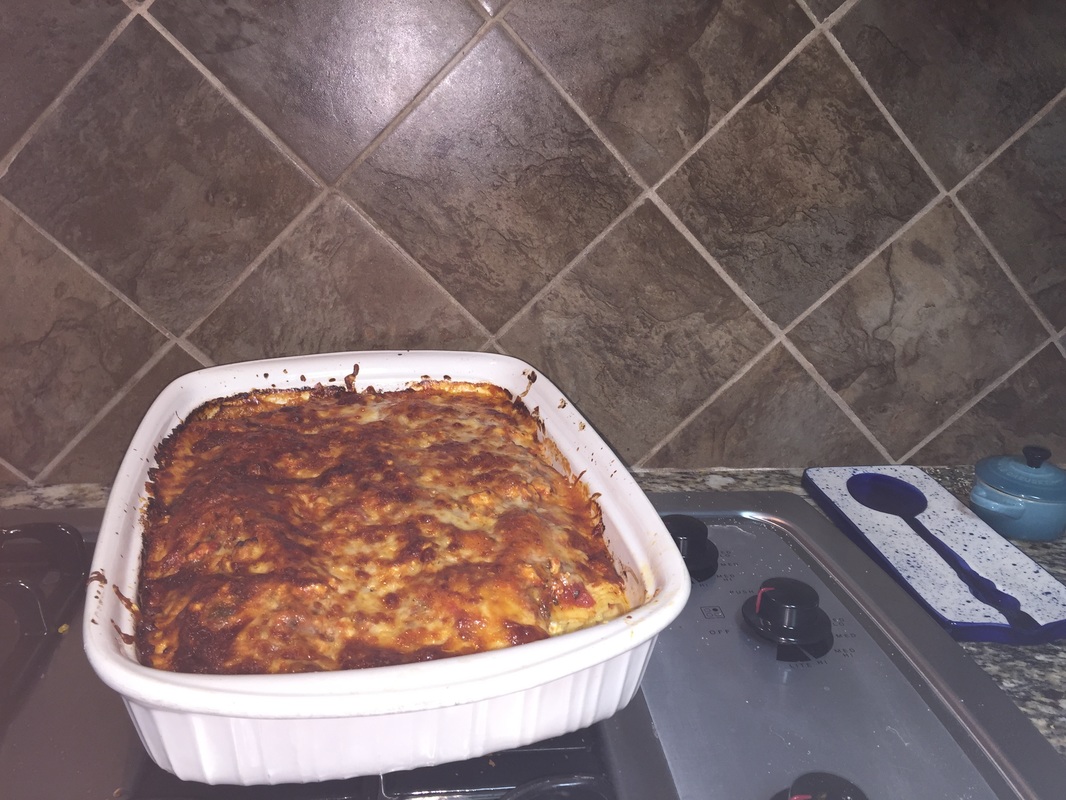
If you want pasta that's not lasagna, you switch attachments to either the spaghetti, the fettuccine, or ravioli attachments and run the sheets through one at a time. They sell pasta drying racks, but my Uncle in Maine was kind enough to make me one (he's a woodworker).  
​
Picture

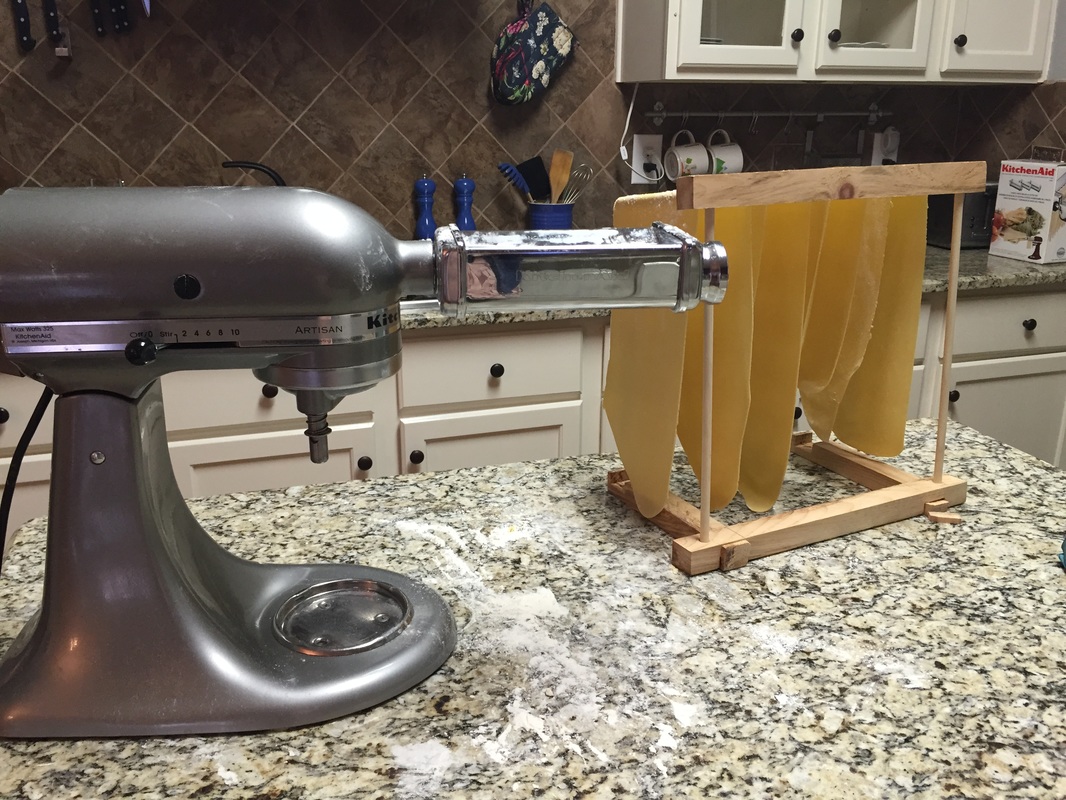
To make ravioli is pretty easy too. You take your pasta sheet (that you flattened up to setting "7") and feed it through the ravioli attachment while pushing in whatever stuffing you've cooked up. There are tons of delicious filling recipes: my favorite is a basic 1 part lump crab + 1 part ricotta cheese (salt and pepper to taste).

The one mistake I made on my first batch of ravioli was to make sure you flatten the lasagna sheet the full width of the attachment. Mine was a little thin (because when you do spaghetti or fettuccine it doesn't really matter how wide the sheet it) and the ravioli filling oozed out the 1/2 finished sides. 
Picture
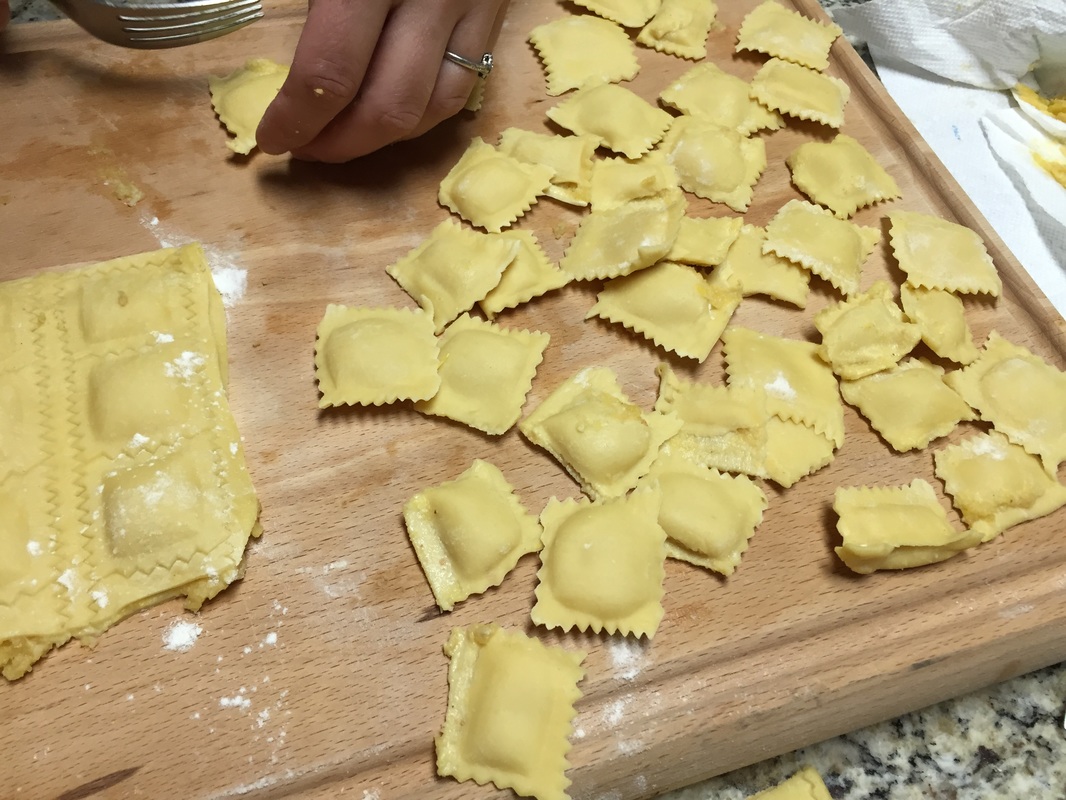
Making ravioli is easy, but it's not as easy to visualize as everything else. There's a good video by Williams Sonoma you can watch that demonstrates it. I've watched pretty much every kitchenAid video on Williams Sonoma's YouTube channel:
​


Martha Stewart's Three Cheese Skillet Lasagna, with some personal modifications in the below recipe (I like to add homemade Italian pork sausage that I grind myself using my sausage grinder attachment; I'll post that recipe in a separate blog) My version of Martha's recipe is better in my opinion - I'd recommend you follow the below:

INGREDIENTS
  • 1 lb of homemade Italian sausage
  • 43 ounces canned organic whole peeled plum tomatoes
  • 3 organic garlic cloves, finely chopped
  • 3 tablespoons extra-virgin organic olive oil
  • Coarse pink Himalayan salt and fresh ground pepper to taste
  • 1 large organic, free range egg yolk
  • 1 1/2 cups organic ricotta cheese (room temperature)
  • 1 batch of homemade lasagna noodles
  • 1/2 lb freshly shredded Mozzarella cheese.
    • Note: I never buy pre-shredded cheese because they add starch during packaging which affects some recipes; especially in sauces it clumps.
  • 1/4 cup freshly shredded Parmesan cheese
 
 
DIRECTIONS:
  1. Preheat oven to 400 degrees. In a food processor, pulse tomatoes until coarsely pureed. In a large deep skillet, bring tomatoes, garlic, and oil to a boil. Season with salt and pepper. Reduce to a simmer and cook on medium until thickened, about 12 minutes (you should have 5 cups marinara sauce). Set aside in a heatproof bowl.
  2. Cook ground Italian pork sausage and add into the marinara sauce.  
  3. Meanwhile, in a medium bowl, mix together egg yolk, ricotta, and 1/2 teaspoon each salt and pepper.
  4. Put the lasagna together in the following layers:
    • Return 3/4 cup of marinara meat sauce to the skillet; spreading evenly.
    • Add a single layer of noodles, cutting them with kitchen scissors to fit.
    • Top with half the ricotta mixture, spreading evenly.
    • Follow with a second layer of noodles,
    • Then 1 1/2 cups marinara.
    • Add a third layer of noodles
    • Then remaining ricotta mixture
    • Follow with a final noodle layer
    • Then remaining marinara meat sauce
    • Sprinkle mozzarella and pecorino over top.
  5. Bake lasagna until golden and bubbling, 30 to 35 minutes. Let stand 10 minutes before serving.


Products mentioned in this blog:
  • KitchenAid 5-Quart Artisan Stand Mixer
  • Blendtec Kitchen Mill
  • Pasta Roller
  • Ravioli Maker
  • Pasta Drying Rack
3 Comments
L. Lilly
8/25/2016 07:29:04 pm

Amber, I cannot thank your mother enough for sharing the link to your blog.

Just today I was researching how to grind my own flour. Several hours have been spent on the internet looking for essential oils for a different project and you may very well have put me on the right path for both ventures.

Thank you for sharing your projects and for sharing your wonderful family life. I have no doubt your blog reader base will grow very quickly in a short amount of time.

Wishing you the best in all adventures.

Reply
Tonya Lenning
9/6/2016 11:34:40 am

Reply
Sadie
3/6/2020 09:31:33 am

I wish the kitchenaid pasta attachment wasn't so expensive.

Reply


Leave a Reply.

    Homesteaders

    Cooking & home projects galore! My secret inner-designer revealed.

    Categories

    All
    Backyard Chickens
    Blog
    Christmas
    DIY Projects
    Going Solar
    Halloween
    Holidays
    Ikea Hack
    Recipes
    Thanksgiving

    Archives

    August 2020
    May 2020
    April 2020
    March 2020
    February 2020
    January 2020
    December 2019
    November 2019
    October 2019
    September 2019
    August 2019
    July 2019
    June 2019
    May 2019
    April 2019
    March 2019
    February 2019
    January 2019
    December 2018
    November 2018
    October 2018
    September 2018
    August 2018
    July 2018
    June 2018
    May 2018
    April 2018
    March 2018
    February 2018
    December 2017
    November 2017
    October 2017
    September 2017
    August 2017
    July 2017
    April 2017
    December 2016
    October 2016
    September 2016
    August 2016

Powered by Create your own unique website with customizable templates.
  • DIY Projects
  • Recipes
  • Going Solar
  • Backyard Chickens
  • Blog